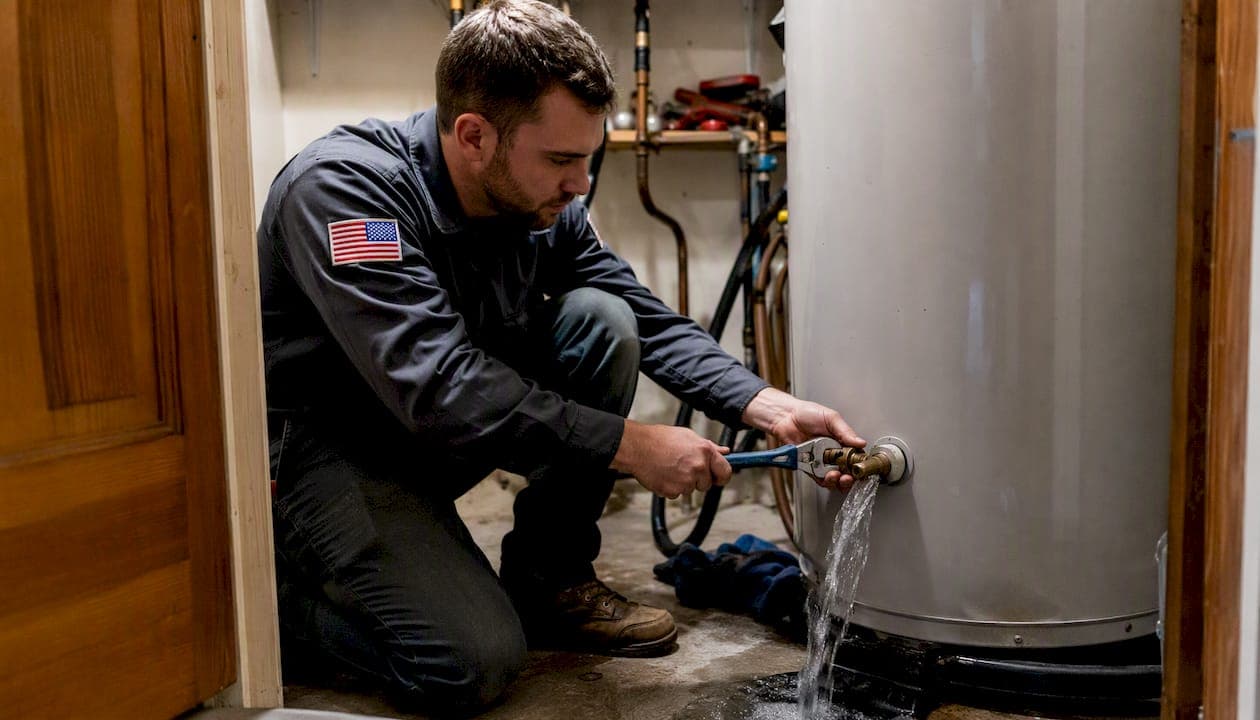
Most homeowners can clean water heater sediment buildup themselves in under two hours. The process comes down to three core steps: shut off power or gas, drain the tank completely, then run short fill-and-drain cycles until the water runs clear. Standard drain-and-flush cycles remove loose sediment and are the go-to homeowner method.
Here's what the process looks like at a glance:
- Power/gas off → shut off the cold-water supply → connect a garden hose to the drain valve
- Open the drain valve and let the tank empty, then run short cold-water bursts to agitate and flush remaining sediment
- Repeat until the outflow runs clear, then refill, purge air, and restore power or relight the pilot
Stop and call a professional if you see active leaks, the drain valve won't open, the water stays rust-colored after multiple cycles, or the tank is more than 12–15 years old. The team at Usaplumbingseptic handles all of these situations for homeowners in Bullhead City and the surrounding Mohave County area. The U.S. Department of Energy also notes that a well-maintained water heater runs more efficiently and costs less to operate, which makes this one of the highest-return maintenance tasks in the home.
Key Takeaways
Sediment removal is routine maintenance that most homeowners can handle annually — the only time it becomes a professional job is when the tank, valve, or scale has deteriorated beyond what a flush can fix.
| Point | Details |
|---|---|
| Annual flush cadence | Flush once per year; every six months in hard-water areas like Bullhead City and Mohave County. |
| Safety before everything | Power or gas off, pressure relieved, and hot-water faucet open before opening the drain valve. |
| Repeat until clear | Run multiple stir-and-drain cycles; cloudy water on the first flush is normal and expected. |
| Upgrade the drain valve | Replace the original plastic valve with a brass full-port ball valve to prevent cracking and clogging. |
| Usaplumbingseptic for red flags | Call Usaplumbingseptic when the valve won't open, water stays rust-colored, or the tank shows active leaks. |
Table of Contents
- How to clean water heater sediment buildup step by step
- What tools and safety gear do you need for this job?
- What do you do when the flush isn't working?
- How often should you flush, and what are the signs it's overdue?
- When should you call a professional instead of doing it yourself?
- A plumber's honest take on what homeowners get wrong
- Usaplumbingseptic handles what the DIY flush can't
- Sources
- FAQ
How to clean water heater sediment buildup step by step
Safety comes first, and that means the heat source is off before you touch anything else. For electric heaters, flip the breaker at the panel. For gas heaters, turn the thermostat dial to "Pilot." Open a hot-water faucet somewhere in the house to relieve pressure and allow air into the system as it drains. Briefly lifting the temperature and pressure (T&P) relief valve handle for one second confirms it moves freely and releases any residual pressure.
Tools and prep: Route a garden hose rated for hot water from the drain valve to a floor drain, driveway, or large bucket. The water coming out will be hot and may be discolored, so wear gloves and keep children and pets away from the drainage area.
Follow these numbered steps for the full procedure:
- Turn off the heat source. Electric: breaker off. Gas: thermostat to "Pilot."
- Shut off the cold-water supply valve at the top of the tank.
- Open a hot-water faucet in the house to prevent a vacuum from forming.
- Connect the garden hose to the drain valve at the base of the tank and route it to a safe drainage point.
- Open the drain valve and let the tank drain fully. Expect a typical draining time of about half an hour for a standard residential water heater tank.
- Run stir-and-drain cycles. Turn the cold-water supply back on for 30–60 seconds to agitate remaining sediment, then shut it off and let the tank drain again. Repeat 2–4 times.
- Drain until the water runs clear. A first flush after a long interval often produces cloudy or rust-colored water — that is normal on the initial cycle and shows the flush is working.
- Close the drain valve, remove the hose, and open the cold-water supply to refill the tank.
- Purge air. Keep the hot-water faucet open until water flows steadily with no sputtering. That confirms the tank is full.
- Restore power or relight the pilot. For electric heaters, never restore power before the tank is completely full — running elements dry burns them out within minutes.
Gas vs. electric notes: On gas models, relight the pilot per the manufacturer's label on the tank. On electric models, confirm steady water flow at the faucet before flipping the breaker back on. Electric heating elements are the most common casualty of a rushed restart.
Verification: After the heater recovers (30–60 minutes), check for drips at the drain valve, confirm the T&P valve is seated properly, and listen for quieter heating cycles. Reduced rumbling and faster hot-water recovery are the two clearest signs the flush worked.
Pro Tip: If your drain valve is the original plastic model, replace it now with a brass full-port ball valve before you close everything up. It costs under $15 and makes every future flush faster and less likely to clog.
What tools and safety gear do you need for this job?
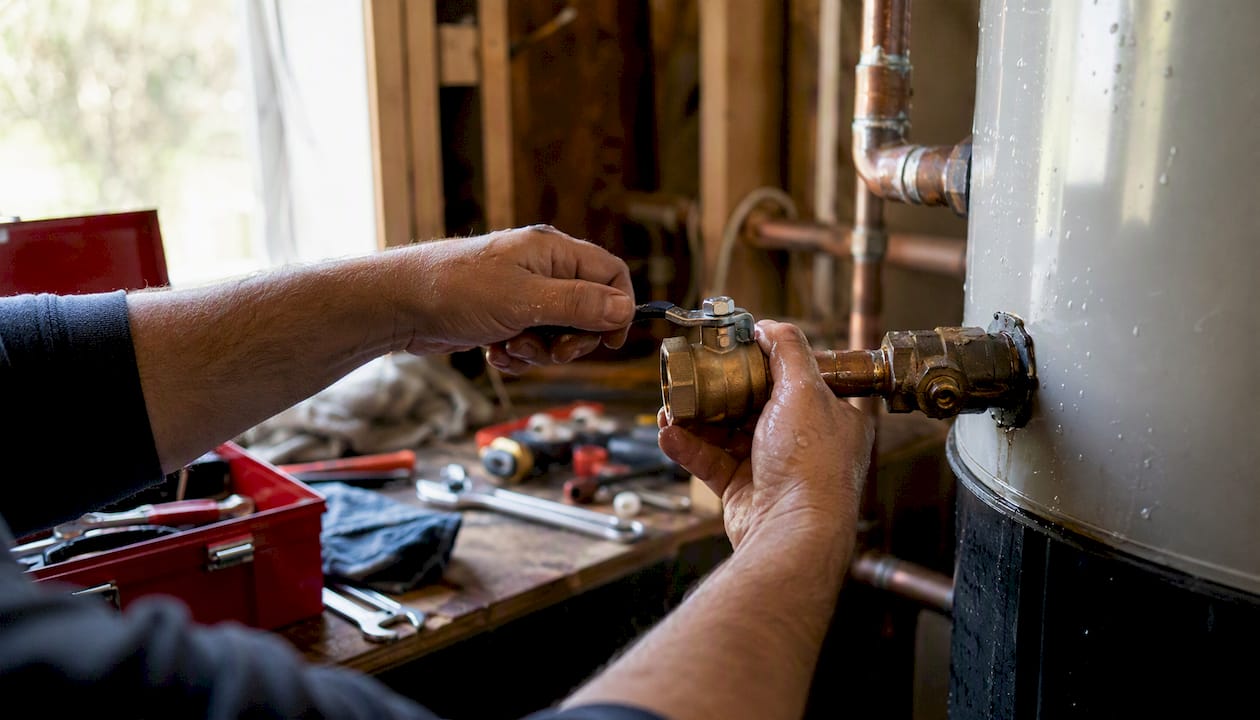
Having everything on hand before you start prevents the most common DIY mistake: stopping mid-drain to hunt for a fitting.
Basic gear checklist:
- Garden hose rated for hot water (standard green hoses can soften and kink under heat)
- Adjustable wrench and flathead screwdriver
- Bucket or direct floor-drain access
- Replacement brass full-port ball valve (have one ready in case the original valve fails)
- Wet/dry shop vacuum (optional, but useful for capturing heavy sediment chunks)
- Heat-resistant work gloves and safety glasses
- Old towels for drips at the valve connection
The Original Sediment Buster® Water Heater Flushing Tool
For tanks with compacted or stubborn sediment, The Original Sediment Buster® Water Heater Flushing Tool is a tool-assisted option worth knowing about. It connects to the drain valve and uses water pressure to stir, lift, and evacuate settled debris that a passive gravity drain won't reach. Think of it as adding agitation from inside the tank rather than relying on cold-water bursts from the top.
The Sediment Buster does not replace the safety procedures above. You still shut off power or gas, relieve pressure, and follow the same restart sequence. What it changes is the effectiveness of the flush on tanks that haven't been serviced in several years.
A word on chemical cleaners: Products like CLR are generally not recommended for homeowner use inside a water heater tank. Chemical delimers can damage tank linings and create combustible gases if improperly vented. When scale is severe enough to consider chemicals, that's a professional job — not a DIY one.
What do you do when the flush isn't working?
Not every flush goes smoothly. Here's how to handle the most common problems without making things worse.
No water flow when you open the drain valve. The valve is likely calcified or the sediment has packed against the opening. Try inserting a thin screwdriver or wire to break the clog. If the valve still won't flow, removing the valve entirely is often the effective fix — but that requires a full drain first and a replacement valve ready to install. A wet/dry shop vacuum applied to the drain opening while flushing water in from the cold-water inlet can also pull heavy chunks out directly.
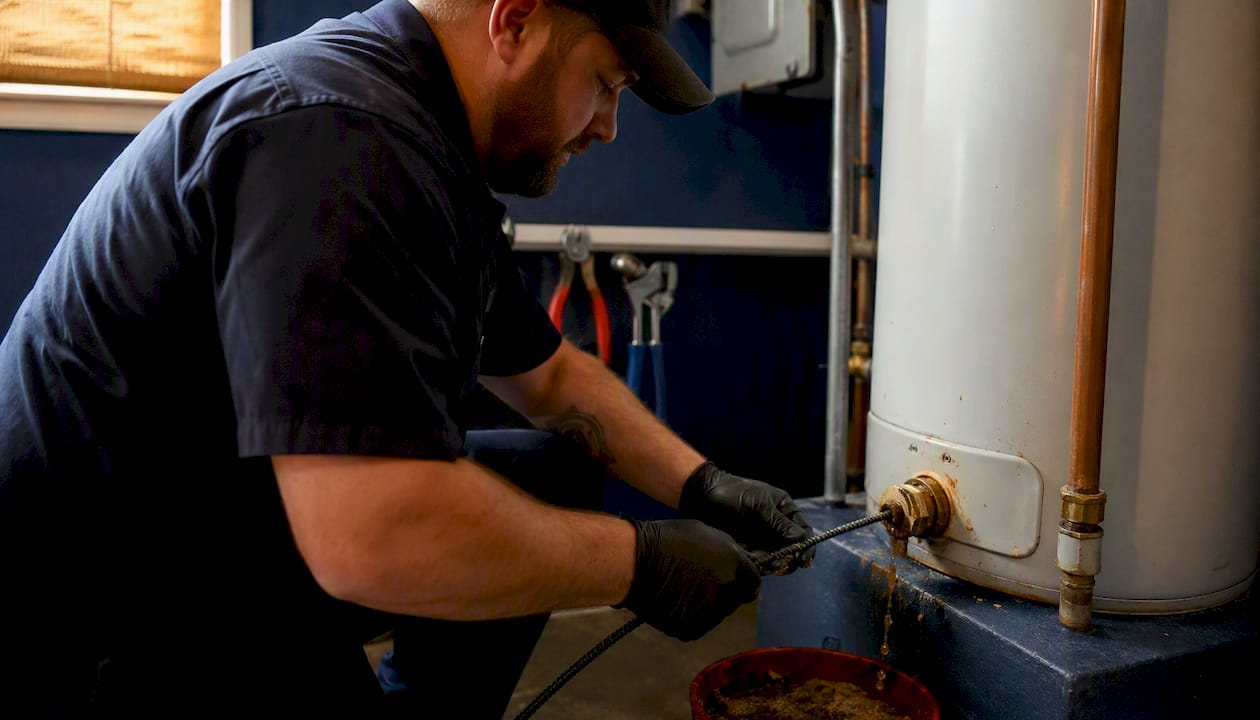
Slow drain with partial flow. Compact sediment is restricting the opening. Run the stir-and-drain cycles described above. The Sediment Buster is particularly useful here because it agitates from inside rather than relying on gravity alone.
Water stays brown or rust-colored after 4–5 cycles. Discoloration that won't clear after repeated flushing points to corrosion inside the tank, not just sediment. That's a sign the tank lining may be failing. Check the common water heater problems guide for a full symptom breakdown, and consider calling a pro for an assessment.
Loud popping during heating cycles. Sediment has compacted under or around the heating element. A standard flush may reduce it; if the noise returns within a few weeks, the buildup is likely too dense for DIY removal. See the water heater popping guide for more detail.
Visible hard chunks in the drained water. Compacted calcium scale. The Sediment Buster or a wet/dry vacuum approach can help, but rock-hard scale often requires mechanical scraping or controlled chemical deliming — both professional tasks.
What not to do:
- Never force a brittle plastic drain valve. It can snap and flood the utility room.
- Never add chemical delimers without proper venting and professional guidance.
- Never restore power to an electric heater before the tank is confirmed full.
How often should you flush, and what are the signs it's overdue?
Manufacturers recommend flushing at least once per year, and every six months in hard-water areas. Bullhead City and Mohave County sit in a region with notoriously hard water, which means a twice-yearly schedule is the practical standard here, not the exception.
Several factors push that cadence shorter: a larger household using more hot water daily, a tank older than eight years, or a private well as the water source. Check your local water quality report to confirm hardness levels and set your schedule accordingly.
Signs your tank is overdue for a flush:
- Rumbling, popping, or banging during heating cycles
- Noticeably reduced hot-water capacity or shorter showers before the water cools
- Rusty or cloudy hot water at the tap
- Longer recovery times between uses
- Rising energy bills without a change in usage
Why sediment costs you money. Sediment is primarily calcium and magnesium deposits that compact over time and form an insulating layer between the burner or heating element and the water. The heater runs longer to reach the set temperature, which drives up energy use. Left unchecked, that layer also accelerates corrosion of the tank lining.
Maintenance callout: Sediment acts as thermal insulation inside the tank. The thicker it gets, the harder the heater works — and the faster the tank ages.
Prevention tips that actually make a difference:
- Set the thermostat to 120°F. Higher temperatures accelerate mineral precipitation.
- Inspect and replace the anode rod every 3–5 years. A depleted rod lets corrosion start faster.
- Consider a whole-house water softener or filtration system if your water hardness is high — it reduces mineral load on every appliance, not just the water heater.
- Upgrade the drain valve to a brass full-port ball valve if you haven't already. It makes the annual flush a 20-minute job instead of a frustrating one.
For a broader look at extending your water heater's lifespan, the maintenance principles above apply across every tank type.
When should you call a professional instead of doing it yourself?
Some situations are beyond what a garden hose and patience can fix. Knowing the line saves you from turning a maintenance task into an emergency.
Call a pro when you see any of these:
- No drain flow after basic agitation attempts and the valve won't budge
- Scale so hard it won't break up after multiple flush cycles
- Active leaks at the tank body, fittings, or T&P valve
- T&P valve that won't reseat after testing (it keeps dripping)
- Water that stays rust-colored after 5+ flush cycles (tank corrosion)
- Hydrogen gas concerns during any chemical deliming attempt
- Tank age beyond 12–15 years with recurring symptoms
What a professional service typically includes: drain-valve removal and replacement, internal mechanical scraping for compacted scale, controlled chemical deliming with proper venting (keeping the T&P open to safely release any combustible gases), anode rod inspection and replacement, and full tank replacement with proper disposal when the tank is beyond saving. For a full picture of what plumbers do for water heaters, that guide covers the scope of a professional service visit in detail.
When you call, have this information ready: tank age, capacity (gallons), brand and model number, a description of symptoms (noises, water color, recovery time), and photos of the drain valve and any visible corrosion. That lets Usaplumbingseptic give you an accurate estimate without a preliminary diagnostic visit.
A plumber's honest take on what homeowners get wrong
The most common thing we see on first visits is a plastic drain valve that was never replaced. Homeowners try to open it after years of sitting, it cracks, and what started as a maintenance flush becomes an emergency repair. Spend the $12 on a brass ball valve before you ever open the original one. That single upgrade prevents the most frequent DIY-turned-disaster we respond to.
The second thing: people skip the anode rod. While you have the tank drained, pull the anode rod and look at it. If it's down to the core wire or heavily coated in calcium, replace it. A new rod costs $20–$40 and can add years to the tank's life. Most homeowners don't know it exists until we show them the corroded one we pulled out.
On cost expectations: a professional drain-valve replacement with a flush typically runs $150–$300 depending on tank access and valve condition. A full anode rod replacement adds $75–$150. A complete tank replacement, when it comes to that, runs $800–$2,000 installed for a standard tank model in this area. DIY flushing costs you an afternoon and a $15 valve. The math on regular maintenance is straightforward.
Document your service dates. Write them on a piece of tape stuck to the tank. It matters for manufacturer warranties and it matters when you sell the house.
Usaplumbingseptic handles what the DIY flush can't
When the flush reveals a cracked valve, a tank that won't stop running rust-colored water, or a T&P valve that won't reseat, that's where Usaplumbingseptic steps in. We offer drain-valve replacement, professional deliming, anode rod service, leak repair, and full water-heater installation and replacement for homeowners across Bullhead City, Fort Mohave, Mohave Valley, and Laughlin.

Every service visit includes a full inspection, a written recommendation, and photo documentation of what we found. No guesswork, no surprise add-ons. We're licensed, experienced, and available 24/7 for emergencies. If your flush uncovered something you're not comfortable handling, or if the tank is simply past its useful life, we'll give you a straight answer and a fair quote. Homeowners in Mohave County can find local service details and plumbing essentials for the area on our site, or book directly at Usaplumbingseptic.
Sources
- Water Heater Flush-out Procedure
- How to Flush a Water Heater
- How to Remove Sediment From a Water Heater (Complete Guide)
- How Often To Flush Your Water Heater (And How To Do It) - Rheem Manufacturing Company
- How to Drain & Flush A Water Heater | A. O. Smith
FAQ
Should I flush my 10-year-old water heater?
Yes, but inspect it carefully first. A tank that age may have a brittle plastic drain valve and a depleted anode rod; flush it gently and be ready to replace the drain valve if it resists opening.
Is it safe to put CLR in a hot water heater?
No. Chemical delimers like CLR can damage tank linings and produce combustible gases if not properly vented — that's a job for a licensed plumber, not a DIY project.
How can you tell if your water heater is full of sediment?
The clearest signs are rumbling or popping during heating cycles, reduced hot-water capacity, rusty or cloudy water at the tap, and noticeably longer recovery times between uses.
Can I flush my water heater myself?
Yes, for loose to moderate sediment. Shut off power or gas, drain the tank, run stir-and-drain cycles until the water runs clear, then refill fully before restoring power. Call a pro if the drain valve won't open or the water won't clear after multiple cycles.