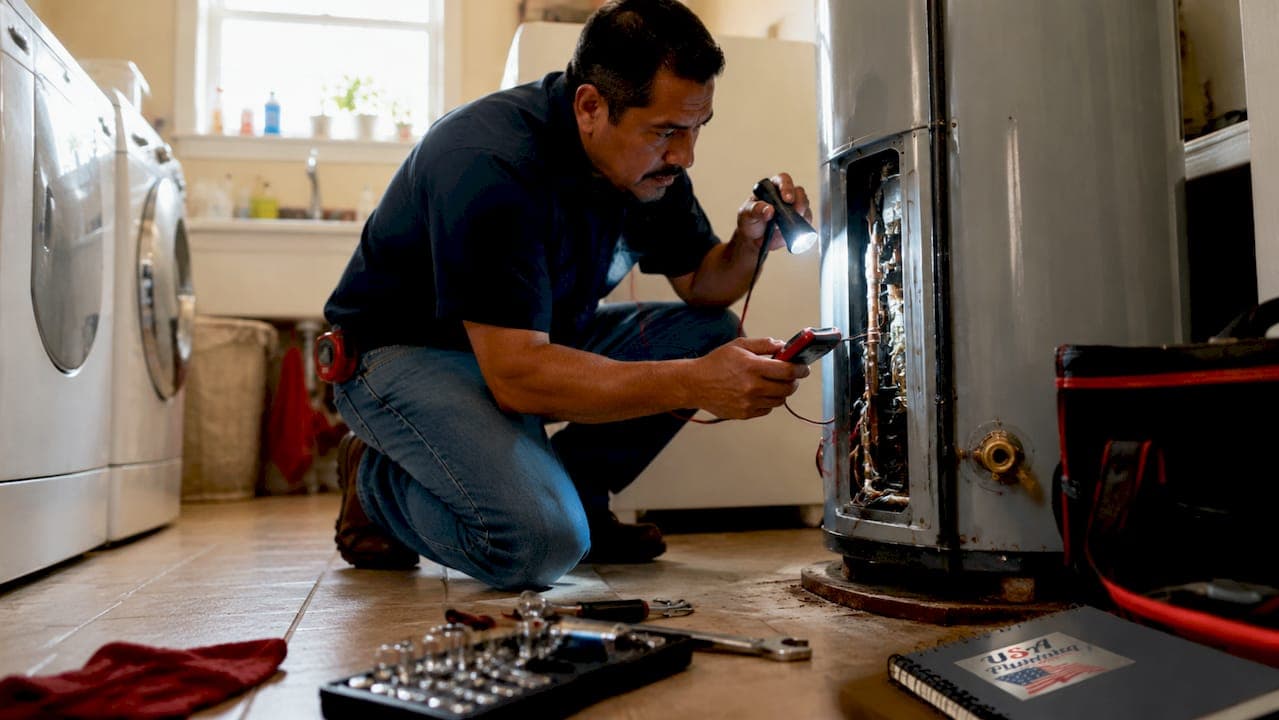
A water heater not heating is defined as a failure of the unit to raise water temperature to the set level, caused by power supply faults, failed heating elements, thermostat problems, or sediment buildup. Knowing how to diagnose water heater not heating problems correctly saves you from replacing a unit that only needs a $30 part. The two main types, electric and gas, fail for different reasons and require different diagnostic steps. Tools like a multimeter and a thermocouple tester help you pinpoint the exact fault before spending money on repairs. Typical part replacements run $30–$180, while a full unit replacement costs $900–$1,800.
What are the essential tools and safety steps before diagnosing?
Safe diagnosis starts before you touch any part of the water heater. Skipping safety steps on an electric unit risks electric shock. On a gas unit, it risks a gas leak or fire.
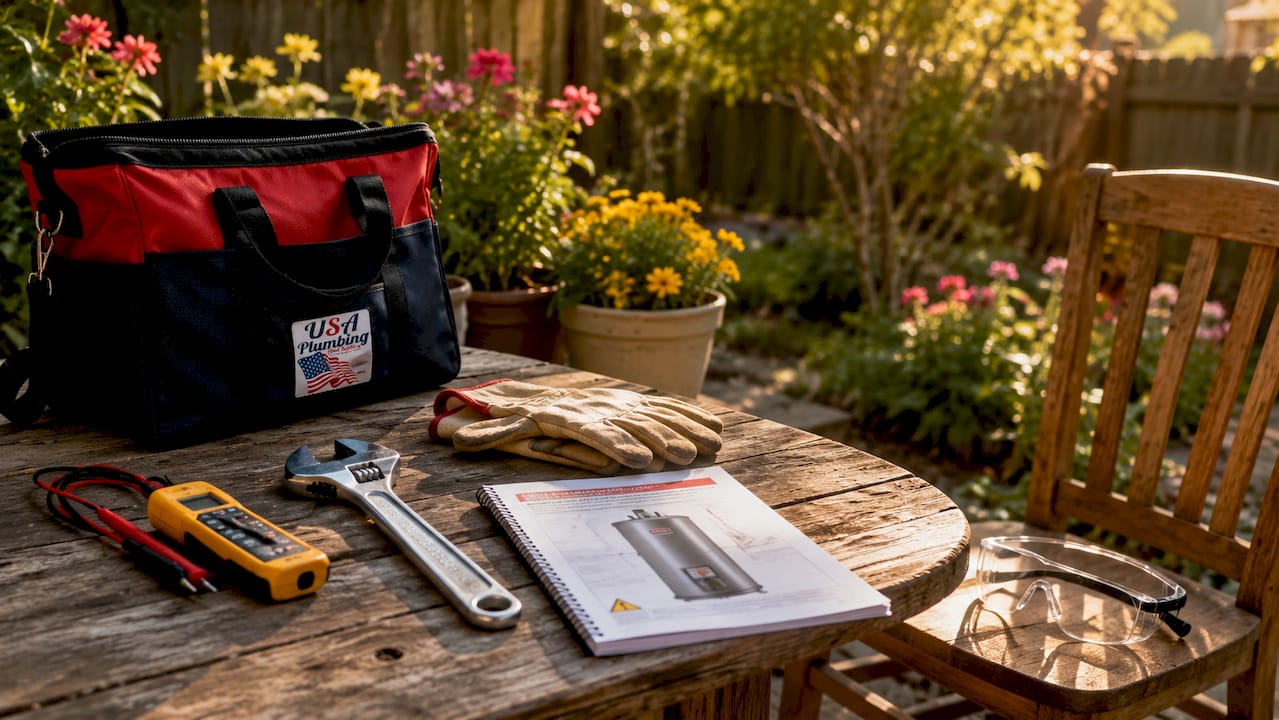
Gather these tools before starting:
- Multimeter (for testing voltage and element continuity)
- Flathead and Phillips screwdrivers
- Flashlight
- Insulated work gloves
- Non-contact voltage tester
For electric water heaters: Turn off the dedicated circuit breaker at your electrical panel before removing any access panels. Confirm power is off with a non-contact voltage tester before touching wires. Review a 24-hour plumbing emergency checklist if you are unsure about electrical safety in your home.
For gas water heaters: Turn the gas control knob to the "pilot" position before inspecting burner components. Never use an open flame to check for gas leaks. Use soapy water on connections and watch for bubbles.
Pro Tip: Never reset a tripped breaker more than once without investigating the cause. Repeated trips signal an internal fault that requires a licensed electrician or plumber.
How to diagnose electric water heater issues causing no hot water
Tripped circuit breakers are the most common cause of electric water heaters losing all hot water. That single fact means your first stop is always the electrical panel, not the water heater itself.
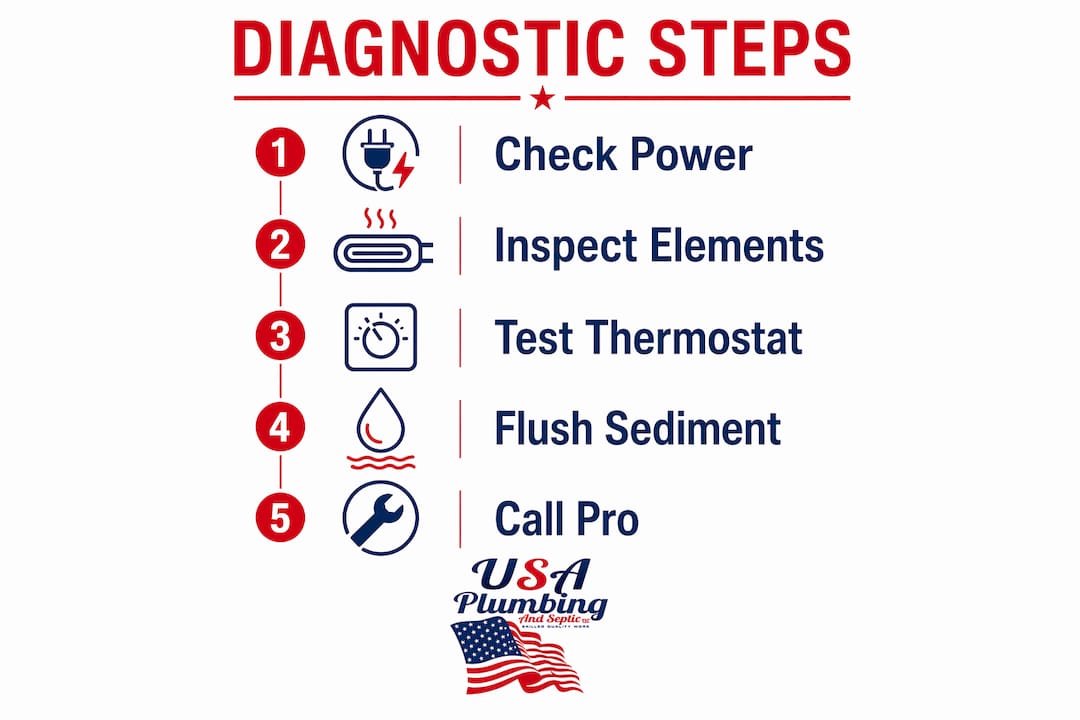
Follow these steps in order:
- Check the circuit breaker. Locate the breaker labeled for the water heater. If it is tripped, reset it once. Wait 30 minutes and check for hot water.
- Reset the high-limit safety switch. Remove the upper access panel and press the red reset button. Wait 30–60 minutes to see if it trips again. Repeated trips point to thermostat failure.
- Test the upper heating element. Set your multimeter to resistance (ohms). Disconnect the wires from the upper element terminals and touch the probes to each terminal. A reading of zero or infinity means the element has failed.
- Test the lower heating element. Repeat the same multimeter test on the lower element. Upper element failure causes zero hot water. Lower element failure causes hot water that runs out quickly.
- Check thermostat settings. Both upper and lower thermostats should be set to 120°F. A thermostat set below 100°F will produce water that feels cold at the tap.
| Symptom | Most Likely Cause | DIY Fix |
|---|---|---|
| No hot water at all | Tripped breaker or failed upper element | Reset breaker, test element with multimeter |
| Hot water runs out fast | Failed lower element | Replace lower heating element |
| High-limit switch keeps tripping | Thermostat failure | Replace thermostat |
| Lukewarm water only | Sediment buildup or crossed connections | Flush tank, check plumbing |
Pro Tip: Before testing elements, drain a few gallons from the tank. Testing a dry element destroys it instantly. Always confirm water is present before powering the unit back on.
How to diagnose gas water heater issues causing no hot water
Gas water heater troubleshooting follows a logical sequence from the simplest fix to the most complex. Most failures trace back to the pilot light, thermocouple, or gas supply.
- Check the pilot light. Look through the viewing window at the base of the unit. If the pilot is out, follow the relight instructions printed on the label. Most modern units use a piezo igniter button.
- Inspect the thermocouple. The thermocouple is a thin copper rod that sits in the pilot flame. If the pilot lights but will not stay lit, the thermocouple is likely faulty. A working thermocouple generates a small voltage that holds the gas valve open.
- Verify gas supply. Confirm the gas shutoff valve on the supply line is fully open (handle parallel to the pipe). Check that other gas appliances in your home are working. If none work, contact your gas utility immediately.
- Assess the burner flame. Yellow or orange flickering flames indicate blockages or corrosion in the burner assembly. A healthy burner flame burns steady blue.
- Check the dip tube. Units manufactured between 1993 and 1997 are prone to broken dip tubes. A broken dip tube lets cold inlet water mix directly with hot water at the top of the tank, producing lukewarm output despite the burner running normally.
Common signs your gas valve has failed:
- Pilot lights but main burner never ignites
- Gas smell near the unit without an obvious leak source
- Control knob feels loose or does not click between settings
- Unit is more than 10 years old and has never had a valve service
How does sediment buildup affect water heater performance?
Sediment is the leading maintenance cause of reduced heating efficiency in both electric and gas water heaters. Minerals like calcium and magnesium settle at the tank bottom over time, forming a layer that insulates the heating element or burner from the water above it.
Sediment can take 3–10 years to accumulate to a level that noticeably affects performance. Homeowners in hard-water areas like Bullhead City and Mohave Valley see buildup faster than average. The most common symptoms include popping or rumbling sounds during heating cycles, inconsistent water temperatures, and longer recovery times between uses.
Signs your tank needs flushing:
- Popping or banging sounds during heating (sediment cracking under heat)
- Hot water that is warm at first but cools quickly
- Visible rust or grit in hot water at the tap
- Water heater running longer than usual to reach set temperature
Flushing the tank removes sediment and restores efficiency. Connect a garden hose to the drain valve, turn off the cold-water supply, and open the valve until the water runs clear. For a full walkthrough on sediment buildup effects, the process is straightforward for most homeowners.
A closed cold-water shutoff valve accounts for roughly 35% of no-hot-water calls after plumbing work or maintenance. Always check that valve is fully open before assuming a component has failed.
Pro Tip: Raising the thermostat to compensate for sediment buildup wastes energy and raises scald risk. It does not solve the problem. Flush the tank instead.
| Maintenance Task | Recommended Frequency |
|---|---|
| Tank flush | Once per year |
| Anode rod inspection | Every 2–3 years |
| Thermostat check | Every year |
| Full professional inspection | Every 3 years |
When should you call a professional plumber?
Some water heater problems go beyond safe DIY repair. Knowing when to stop is as important as knowing how to start. Attempting repairs on a faulty gas valve or a repeatedly tripping breaker creates real fire and injury risk.
Call a licensed plumber when:
- The circuit breaker trips again immediately after reset. This signals an internal electrical fault.
- You smell gas and cannot identify the source after checking connections.
- The pilot light fails to stay lit after replacing the thermocouple.
- The tank is leaking from the bottom or from the pressure relief valve.
- The unit is more than 12 years old and showing multiple symptoms.
Repair costs for common parts run $30–$180 for components like heating elements, thermocouples, and thermostats. A full water heater replacement costs $900–$1,800 installed, but a new unit improves efficiency by 20–40% compared to an aging model. For homeowners with units over a decade old, replacement often makes more financial sense than repeated repairs. Review common water heater problems to compare repair versus replacement scenarios before calling for a quote.
Key takeaways
Correct diagnosis of a water heater not heating requires checking power supply, heating components, and maintenance issues in a specific order before attempting any repair.
| Point | Details |
|---|---|
| Start with power and supply | Check the circuit breaker and cold-water shutoff valve before inspecting any components. |
| Electric vs. gas failures differ | Upper element failure causes zero hot water; pilot or thermocouple failure causes the same on gas units. |
| Sediment is a slow killer | Annual tank flushing prevents the buildup that reduces efficiency and causes noise. |
| Repeated breaker trips mean stop | A breaker that trips again immediately signals an internal fault requiring professional service. |
| Repair vs. replace threshold | Units over 12 years old with multiple faults are cheaper to replace than repair repeatedly. |
What I have learned after years of water heater calls
After years of responding to water heater calls across Bullhead City, Fort Mohave, and Mohave Valley, the pattern is clear. Homeowners almost always check the wrong thing first. They adjust the thermostat, wait an hour, and call us when nothing changes. The thermostat is rarely the problem.
The most overlooked step is checking the cold-water shutoff valve. A plumber visits, turns a valve that got bumped during a recent repair, and the hot water returns in minutes. That call costs the homeowner a service fee that a two-minute check would have avoided.
The second mistake I see constantly is skipping the multimeter. A heating element can look perfectly fine and still be dead. Visual inspection tells you nothing about electrical continuity. A $20 multimeter from any hardware store pays for itself the first time you use it.
My honest recommendation: inspect your water heater once a year. Flush the tank, check the anode rod, and test the pressure relief valve. Most water heater failures I respond to were preventable. Early diagnosis does not just save money. It prevents the kind of damage that turns a $150 repair into a $1,500 emergency.
— JOHN
Usaplumbingseptic is ready when the fix is beyond DIY
When your water heater diagnosis points to a gas valve fault, a failed element you cannot safely replace, or a unit that has simply reached the end of its life, Usaplumbingseptic is available 24/7 to help.

Our licensed technicians serve Bullhead City, Fort Mohave, Mohave Valley, and Laughlin with fast, reliable water heater diagnostics and repairs. We carry common replacement parts on our trucks and provide honest assessments before any work begins. Whether you need a single element replaced or a full unit installed, our team handles it efficiently and safely. Contact our Golden Valley plumbing team to schedule a same-day inspection or get emergency support right now.
FAQ
What is the first thing to check when a water heater has no hot water?
Check the circuit breaker for electric units or the pilot light for gas units. These are the most common causes and take under five minutes to inspect.
How do I know if my heating element is bad?
Use a multimeter set to ohms and test each element terminal. A reading of zero or infinity confirms the element has failed and needs replacement.
Why does my hot water run out so fast?
Lower heating element failure causes hot water that runs out quickly. The upper element heats first, so partial hot water points to the lower element as the fault.
Can sediment buildup cause a water heater to stop heating?
Yes. Sediment insulates the heating element or burner from the water, reducing efficiency and causing temperature inconsistencies. Annual flushing removes the buildup and restores normal performance.
When is it safer to replace than repair a water heater?
Replace the unit when it is over 12 years old, when repair costs exceed $400, or when professional water heater guidance confirms multiple component failures. A new unit also delivers 20–40% better efficiency.