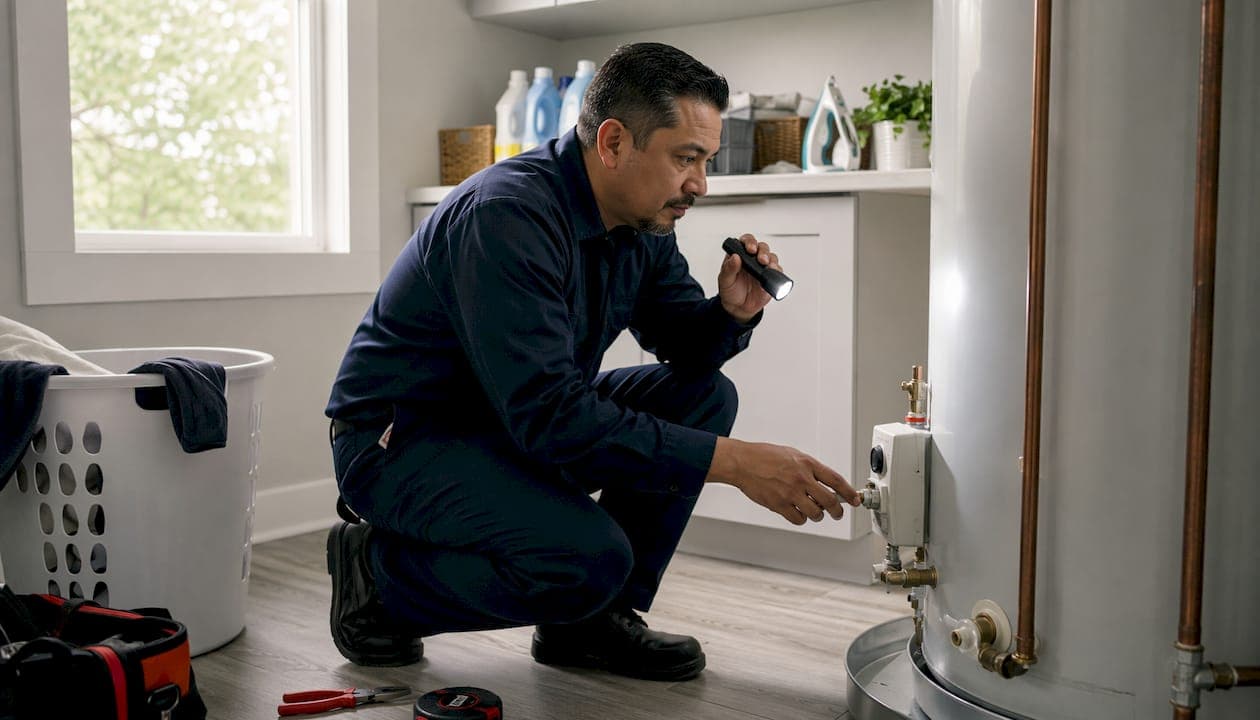
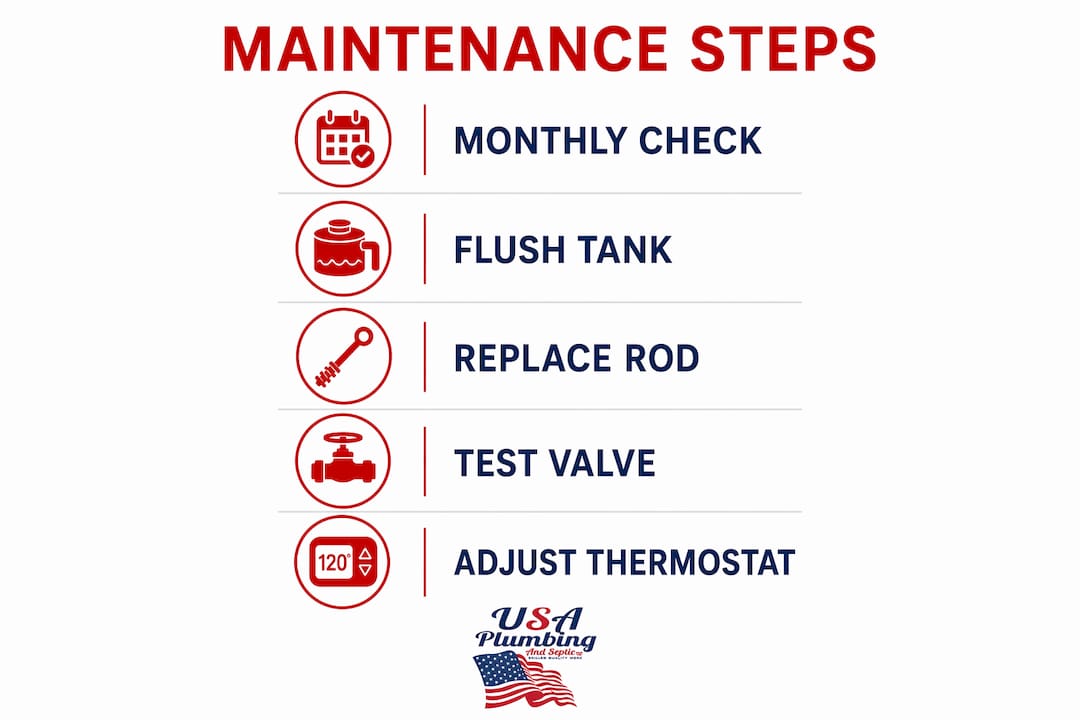
These maintenance steps reliably extend the life of a residential water heater. The highest-impact actions are annual tank flushing, checking and replacing the anode rod every 1–3 years, setting your thermostat to 120°F, testing the T&P relief valve yearly, and addressing hard water before it silently destroys your tank from the inside. Most homeowners skip all five. Without basic care, the average tank water heater has a shorter lifespan than it could achieve with proper maintenance.
This weekend, you can:
- Adjust your thermostat to 120°F (takes two minutes)
- Visually inspect the tank exterior for rust, moisture, or corrosion
- Lift and release the T&P valve lever briefly to confirm it reseats cleanly
- Check the manufacturer label for your unit's age and anode rod type
- Schedule a full flush if it has been more than a year
Each of these actions targets a specific failure mode: sediment buildup causes overheating and element burnout, a depleted anode rod lets the steel tank corrode from within, and thermal stress from high temperatures accelerates scale formation and shortens component life.
Table of Contents
- What are the best water heater lifespan tips for a maintenance schedule?
- How do you flush a tank water heater step by step?
- Why does the anode rod matter, and when should you replace it?
- How does hard water shorten your water heater's life?
- What thermostat setting and insulation upgrades help the most?
- Are you testing your T&P valve and other safety checks?
- What signs mean your water heater is failing, and should you repair or replace?
- What can you safely do yourself, and when should you call a plumber?
- Your complete water heater maintenance checklist by frequency
- What plumbers see most often — and what you can do differently
- Key Takeaways
- What the data actually tells us about water heater longevity
- Usaplumbingseptic keeps your water heater running longer in Bullhead City
- Useful sources
- FAQ
What are the best water heater lifespan tips for a maintenance schedule?
A realistic maintenance cadence prevents the slow, invisible damage that ends most water heaters early. Think of it in three tiers: monthly visual checks you do in under five minutes, annual tasks that take about an hour, and multi-year inspections that require a bit more effort or a plumber.
| Frequency | Task | DIY or Pro | Estimated Time/Cost |
|---|---|---|---|
| Monthly | Visual check for leaks, rust, moisture around base | DIY | 5 minutes / — |
| Annually | Flush tank sediment | DIY | 20–30 minutes / — |
| Annually | Test T&P relief valve | DIY | 2–5 minutes / — |
| Annually | Check thermostat setting | DIY | 2 minutes / — |
| Every 1–3 years | Inspect and replace anode rod | DIY or Pro | 20–30 minutes / $20–$50 rod |
| Every 1–2 years | Tankless descaling (hard-water areas) | DIY or Pro | 45–60 minutes / $20–$50 supplies |
| Every 3–5 years | Professional full inspection | Pro | 1–2 hours / $80–$150 |
The EPA recommends annual maintenance and inspection to keep water heaters running efficiently, including flushing, T&P checks, and pipe insulation. Skipping even one year of flushing in a hard-water area can mean a quarter-inch of sediment on the tank floor, which forces the burner to work harder and shortens element life.
Pro Tip: Mark your flush date on the water heater itself with a permanent marker. When you see the date is more than 12 months old, that's your reminder. No calendar needed.
How do you flush a tank water heater step by step?
Flush your tank at least once a year — every six months if you have hard water. Tankless units need annual descaling instead. Here is the exact sequence for a tank flush:
- Turn off the heat source. For electric units, switch off the breaker. For gas, turn the thermostat to the "pilot" setting. Never drain a tank with the burner still active.
- Shut off the cold-water supply valve at the top of the tank.
- Connect a garden hose to the drain valve at the tank's base and run the other end to a floor drain or outside. Hot water will flow out, so keep people and pets clear.
- Open a hot-water faucet somewhere in the house to prevent a vacuum from forming.
- Open the drain valve and let the tank empty. This takes 20–30 minutes for a 50-gallon unit.
- Capture the first few gallons in a clear bucket to assess sediment. Heavy grit or cloudy water means you should flush until the water runs clear — repeat the partial-fill-and-drain cycle if needed.
- Briefly open the cold-water supply with the drain valve still open to power-flush remaining sediment.
- Close the drain valve, refill the tank, and restore power or relight the pilot only after the tank is completely full.
Safety note: Drain water can exceed 140°F. Wear gloves and direct the hose away from skin and landscaping.
For tankless units, descaling means pumping a food-grade white vinegar solution (or a manufacturer-approved descaler) through the heat exchanger using a small submersible pump and hoses connected to the service ports. Clean the inlet filter screen at the same time. The process takes 45–60 minutes and should happen every 12–18 months, or annually in hard-water regions.
If your tank has never been flushed and is older, the drain valve itself may be corroded. Have thread tape and a replacement valve cap ready before you start.
Why does the anode rod matter, and when should you replace it?
The anode rod is a sacrificial metal rod, typically magnesium or aluminum, that corrodes in place of your tank's steel lining. Once it is gone, the tank corrodes instead. Inspect the anode rod every 1–3 years and replace it when more than 50% is consumed or heavily coated in calcium.
Signs you need a new anode rod:
- The rod is less than half its original diameter
- Heavy white calcium coating covers the surface
- You smell a sulfur or rotten-egg odor from hot water (a depleted rod in a softened-water system)
- The rod has broken into segments
Accessing the rod usually means removing a hex-head plug on top of the tank, often hidden under the sheet-metal cover or insulation. A 1 1/16-inch socket and a breaker bar handle most residential rods. Replacement rods cost $20–$50 and are available at any hardware store. Installation is a straightforward DIY task for most homeowners, though older tanks with seized rods may need a plumber's help.
Anode material matters. Magnesium rods work best in normal water but deplete faster in softened water, sometimes within 1–2 years. Aluminum rods last longer in softened or high-chlorine water. Powered (impressed-current) anodes are a permanent alternative that never need replacement, though they cost more upfront.
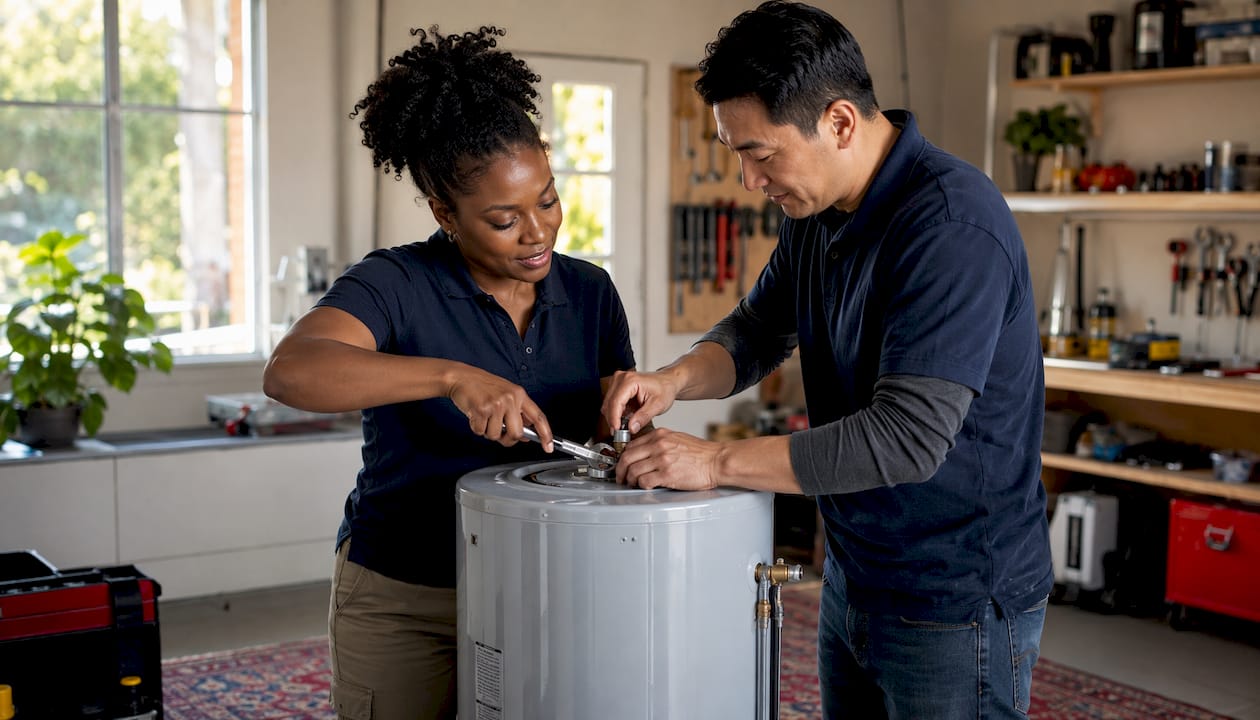
Pro Tip: If you have a water softener, inspect your anode rod annually rather than every three years. Softened water is more aggressive on magnesium anodes and can exhaust a rod in half the expected time.
How does hard water shorten your water heater's life?
Hard water is the primary enemy of water heater longevity. Dissolved calcium and magnesium minerals precipitate out as scale when water is heated, coating heating elements, tank floors, and heat exchangers. That layer of scale acts as insulation, forcing the unit to run longer and hotter to deliver the same output.
In hard-water regions, increase flush frequency to every six months rather than annually. If your water hardness exceeds 7 grains per gallon (GPG), you are in territory where scale accumulates fast enough to noticeably shorten tank life.
Your mitigation options:
- Whole-house water softener: The most effective solution. Eliminates scale formation but accelerates magnesium anode depletion, so pair it with annual anode checks.
- Point-of-entry sediment filter: Catches particulates before they reach the tank. Less effective against dissolved minerals but useful for well water.
- Electronic or chemical scale inhibitors: Reduce scale adhesion without removing minerals. Lower upfront cost than a softener, with moderate effectiveness.
- More frequent flushing: The lowest-cost option. Removes sediment before it hardens but does not prevent scale on elements.
Usaplumbingseptic offers water softener and filtration installs in Bullhead City and the surrounding Tri-State area, which is particularly relevant given the hard-water conditions common in the Mohave Valley region.
What thermostat setting and insulation upgrades help the most?
Set your water heater to 120°F. That single adjustment reduces thermal stress, slows scale formation, lowers scalding risk, and cuts energy costs. Lowering from 140°F to 120°F saves approximately 3–5% on water heating costs per 10-degree reduction, which adds up to real savings over the heater's lifetime.
Where insulation pays off:
- Hot water pipes within the first 6 feet of the tank: Pipe sleeves raise delivered water temperature slightly, which means the heater cycles less often. This is low-cost and high-return.
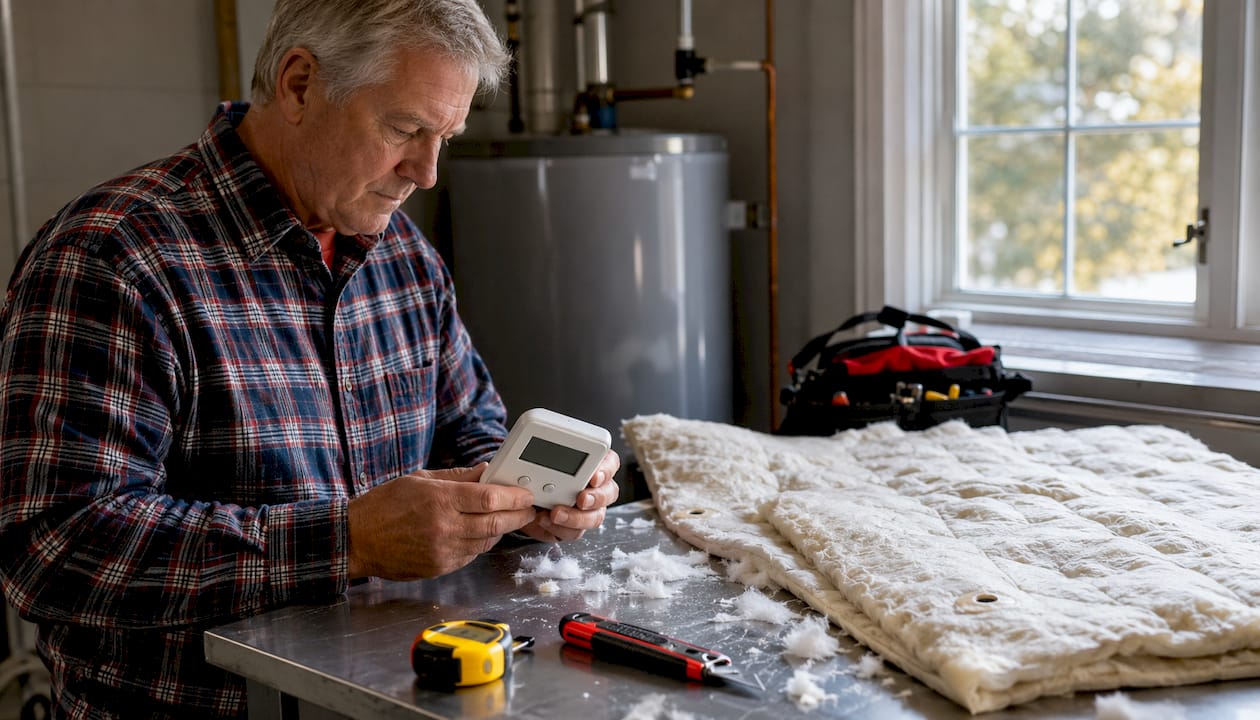
- Tank insulation blanket: Useful on older tanks with thin factory insulation. Pipe insulation and tank blankets reduce standby heat loss and cycling. Never cover the thermostat, T&P valve, or any vents on gas units.
- Recirculation system insulation: If you have a hot water recirculation system, insulating the return loop reduces heat loss and lowers how often the heater fires.
For homes with young children or elderly occupants, 120°F is the recommended maximum. Dishwashers with internal heaters handle sanitization independently, so you do not need to run the tank hotter for them.
Pro Tip: A tank blanket on a newer unit with factory foam insulation is usually unnecessary. Check your tank's energy guide label first. If the standby loss rating is already low, skip the blanket and focus on pipe insulation instead.
Are you testing your T&P valve and other safety checks?
The T&P (temperature and pressure) relief valve is the single most important safety device on your water heater. If pressure or temperature inside the tank exceeds safe limits, this valve opens automatically to prevent a catastrophic failure. Test it annually and replace it if it leaks or won't reseat after testing.
How to test it safely:
- Place a bucket under the discharge pipe.
- Lift the valve lever briefly (1–2 seconds) to allow a small discharge of water.
- Release the lever. It should snap back and stop all flow within a few seconds.
- A valve that continues to drip after testing needs immediate replacement.
Additional safety checks to run annually:
- Gas units: Inspect the flue pipe for blockages, soot deposits, or disconnected sections. Any smell of gas near the unit means shut it down and call a plumber immediately.
- Tank exterior: Look for rust streaks, moisture at fittings, or white mineral deposits that indicate a slow leak.
- Pressure: If your T&P valve discharges frequently without being tested, your home's water pressure may be too high. A pressure-reducing valve (PRV) may be needed.
- Burner flame (gas units): Should burn blue. A yellow or orange flame signals incomplete combustion and requires professional attention.
If you notice a persistent leak from the tank body itself, not from a fitting or valve, shut the unit down and call a plumber. That is not a repairable condition.
What signs mean your water heater is failing, and should you repair or replace?
Consider replacement when your unit is older and showing symptoms, or when repair costs approach a significant portion of a new unit's price. Tank water heaters typically last 8–12 years, while tankless units usually last significantly longer with proper care.
Red-flag symptoms:
- Rusty or discolored water from hot taps only (tank is corroding internally)
- Rumbling or popping that persists after a proper flush (sediment has hardened; tank is under thermal stress)
- Water pooling at the tank base (tank body leak, not repairable)
- Rapid loss of hot water capacity despite no change in household demand
- Noticeably higher energy bills with no other explanation
For a water heater that stops heating or produces inconsistent output, the cause is often a replaceable part: a failed heating element ($20–$50), a faulty thermocouple, or a worn thermostat. Those repairs make sense on a unit under 8 years old with no tank corrosion. On a unit over 12 years old with multiple issues, the math usually favors replacement.
New tank units run $800–$1,500 installed. Tankless units cost $1,500–$3,500 installed but use significantly less energy and last longer. If you plan to stay in the home long-term, tankless often pays for itself. If you are selling in a few years, a quality tank replacement is the practical call.
What can you safely do yourself, and when should you call a plumber?
Most water heater maintenance is genuinely DIY-friendly. A few tasks are not, and getting that line wrong creates safety and warranty risks.
Safe DIY tasks:
- Adjusting the thermostat
- Visual inspections (exterior, fittings, base)
- Annual tank flush (with proper safety precautions)
- Replacing the anode rod on accessible tanks
- Testing the T&P valve
- Adding pipe insulation sleeves
Call a licensed plumber for:
- Any task involving the gas line or gas valve
- Replacing the T&P valve itself (requires draining and proper torque)
- Flue pipe inspection or repair on gas units
- Tank leaks from the body (replacement, not repair)
- Electrical isolation beyond flipping the breaker
The decision rule is simple: if the task involves gas, the tank body itself, or electrical work beyond a breaker, call a pro. Licensed plumbers handle the full range of water heater work, from routine maintenance to full replacement. A professional service call typically runs $80–$150 for a standard inspection, which is cheap compared to the cost of a flooded utility room.
For genuine emergencies, including gas smells, continuous T&P discharge, or active tank leaks, use your 24-hour plumbing emergency checklist and call immediately.
Your complete water heater maintenance checklist by frequency
Stick this schedule to your water heater or save it to your phone. Every task here directly extends service life or catches a failure before it becomes expensive.
| Frequency | Task | DIY/Pro | Time/Cost |
|---|---|---|---|
| Monthly | Visual check: base, fittings, exterior for rust or moisture | DIY | 5 minutes / — |
| Annually | Flush tank sediment | DIY | 20–30 minutes / — |
| Annually | Test T&P valve | DIY | 5 minutes / — |
| Annually | Confirm thermostat at 120°F | DIY | 2 minutes / — |
| Annually | Inspect flue/venting (gas units) | Pro | 15 min / included in inspection |
| Every 1–3 years | Inspect and replace anode rod | DIY or Pro | 20–30 min / $20–$50 |
| Every 1–2 years | Tankless descaling (hard-water areas) | DIY or Pro | 45–60 minutes / $20–$50 |
| Every 3–5 years | Full professional inspection | Pro | 1–2 hrs / $80–$150 |
For DIY home plumbing maintenance beyond the water heater, Usaplumbingseptic has a companion resource covering the broader tasks homeowners can handle safely.
What plumbers see most often — and what you can do differently
Annual inspection and early valve and rod fixes prevent the majority of catastrophic tank failures. That is not a theory. It is what plumbers see in the field, year after year.
The three most common homeowner mistakes:
- Waiting for a leak to act. By the time water appears at the base, the tank has already corroded through. The repair window is gone. Annual inspections catch the warning signs months earlier.
- Ignoring hard-water signals. Rumbling sounds, slow recovery, and high energy bills are all hard-water symptoms. Most homeowners treat them as normal aging rather than as a correctable condition.
- Skipping anode rod checks. The anode rod costs $20–$50 and can add years to a tank's life. Most homeowners have never heard of it, let alone replaced one.
Pro Tip: Schedule your annual water heater maintenance at the start of winter. You are about to lean hard on your hot water supply, and that is exactly the wrong time to discover a failing element or a corroded anode.
Key Takeaways
Annual flushing, anode rod replacement, a 120°F thermostat setting, yearly T&P valve testing, and hard-water mitigation are the five actions that reliably extend a tank water heater's life from the typical 8–12 years up to 15 years or more.
| Point | Details |
|---|---|
| Flush annually | Sediment removal once a year prevents overheating, element burnout, and rumbling noises. |
| Replace the anode rod | Inspect every 1–3 years; replace when more than 50% consumed to prevent internal tank corrosion. |
| Set thermostat to 120°F | Reduces thermal stress, slows scale formation, and cuts energy costs without sacrificing comfort. |
| Test the T&P valve yearly | Lift and release the lever annually; replace immediately if it drips or won't reseat. |
| Usaplumbingseptic | Provides annual inspections, anode replacement, flush service, and water-quality solutions in Bullhead City and the Mohave Valley area. |
What the data actually tells us about water heater longevity
Most guides treat water heater maintenance as optional. The evidence says otherwise. A tank that receives no maintenance rarely reaches 8–12 years. One that gets annual flushing, anode care, and temperature management routinely hits 15 years. That five-year gap represents thousands of dollars in avoided replacement costs and zero emergency water damage.
The piece of conventional wisdom worth questioning is the idea that a water heater is a "set it and forget it" appliance. It is not. It is a pressurized vessel with a sacrificial component that depletes on a known schedule, a sediment problem that compounds annually, and a safety valve that can fail silently. Treating it like a furnace filter — something you check on a calendar, not when it breaks — is the mindset that separates homeowners who get 15 years from those who get 8.
The repair-vs-replace decision also gets oversimplified. The 50% rule from Rheem is a useful starting point, but age matters as much as cost. A $300 repair on a 13-year-old tank is rarely a good investment, even if it is under the 50% threshold. You are buying time on a unit that is statistically near end of life. Budget for replacement instead and spend the $300 on a professional inspection that confirms the timeline.
Usaplumbingseptic keeps your water heater running longer in Bullhead City
Skip the guesswork on your next maintenance visit. Usaplumbingseptic serves Bullhead City, Fort Mohave, Mohave Valley, and Laughlin with professional water heater inspections, anode rod replacement, full tank flush service, and water softener installs for homes dealing with the hard-water conditions common in the Tri-State area. We are available 24/7 for emergency repairs and routine maintenance alike.

Our team handles everything from a standard annual inspection to full tank or tankless replacement, with transparent pricing and no pressure to upsell. If your unit is approaching 10 years or you have never had a professional look at it, now is the right time. Check our Mohave County plumbing services page or call us directly to schedule your inspection. We will tell you honestly whether your heater needs maintenance, a part, or a replacement.
Useful sources
- U.S. EPA — Home Maintenance (WaterSense): Official guidance on annual flushing, T&P checks, pipe insulation, and efficiency recommendations.
- This Old House — How to Maintain a Water Heater: Practical step-by-step maintenance procedures including T&P valve testing and flush technique.
- Rheem — Water Heater Lifespan: When to Repair vs. Replace: Manufacturer guidance on lifespan benchmarks, failure symptoms, and the 50% repair-vs-replace rule.
- Build Coded — Water Heater Maintenance Checklist: Comprehensive annual checklist covering tank and tankless units, with time and cost estimates per task.
- Angi — Common Water Heater Problems and Solutions: Overview of common failure modes and preventive steps for homeowners.
- Priority Plus Plumbing — Signs Your Hot Water Is About to Give Out: Professional perspective on warning signs and timing for replacement decisions.
FAQ
How long can a water heater last with proper maintenance?
A tank water heater typically lasts 8–12 years, but with annual flushing, regular anode rod replacement, and proper thermostat settings, many units reach 15 years or more.
What is the average lifespan of a 50-gallon water heater?
A 50-gallon tank water heater averages 8–12 years. Consistent maintenance, particularly annual flushing and anode rod care, can extend that to 15 years in many cases.
Should you replace a 30-year-old water heater?
Yes. A 30-year-old tank water heater is well past its expected service life and poses real safety risks, including internal corrosion and T&P valve failure. Replacement is the only responsible option at that age.
Should you flush a water heater after 10 years without maintenance?
Proceed carefully. A drain valve that has never been opened on a 10-year-old tank may be corroded and could leak after use. Have a replacement valve cap and thread tape ready, and consider having a plumber handle the first flush.
When does repair cost too much compared to replacement?
When repair costs approach 50% of a new unit's price, replacement is usually the better long-term investment, especially if the unit is already 10 or more years old with multiple issues.