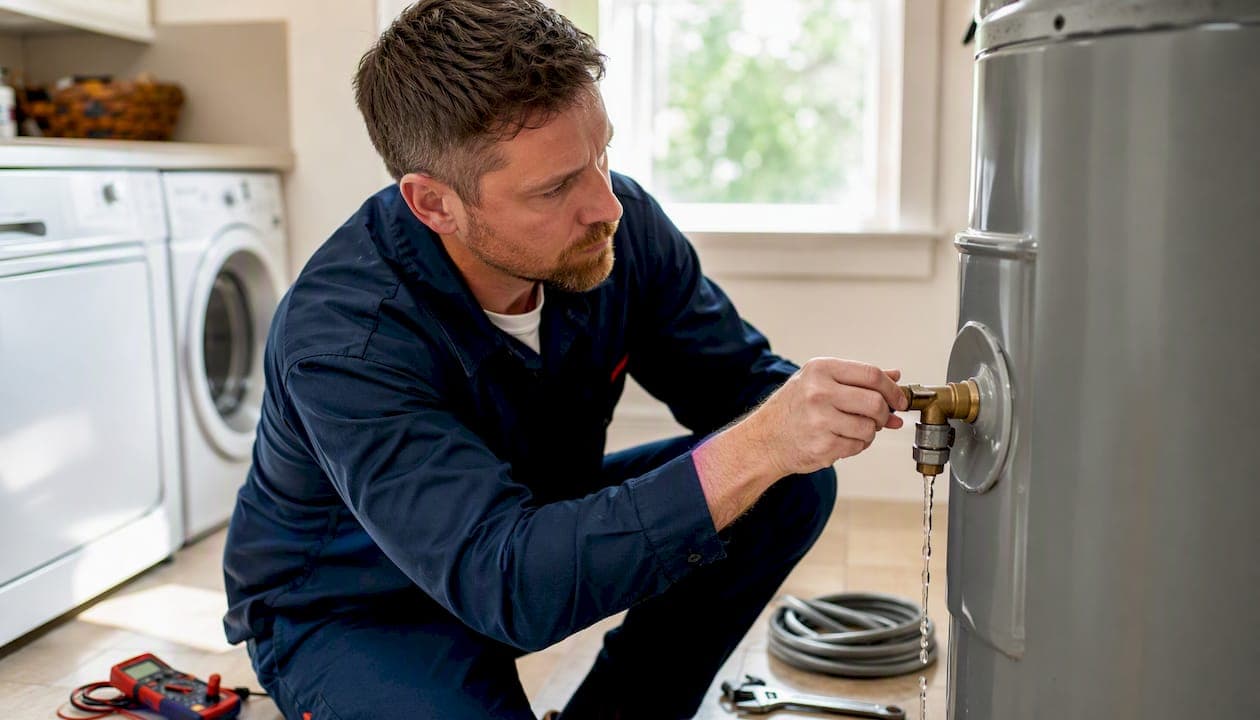
When your hot water heater overheats, the immediate step is to shut off power (electric units) or turn the gas valve to "pilot" (gas units) and stay away from scalding taps until the water cools. An overheating water heater is a genuine safety risk — scalding water above 130°F causes serious burns in seconds, and unchecked pressure buildup can stress your tank to the point of failure.
Right now, check these three things:
- Thermostat setting: Is the dial above 120°F? That alone can be the entire problem.
- T&P valve discharge: Is water dripping or streaming from the temperature and pressure relief valve on the side of the tank? That means pressure is already building.
- Red reset button: Has the high-limit button on your electric heater popped out? If so, do NOT press it again until you know why it tripped.
Keep children away from hot taps. If you smell gas at any point, leave the house and call your gas utility immediately. For a full emergency action plan while you wait for help, our 24-hour plumbing emergency checklist walks you through every step.
Key Takeaways
A hot water heater that overheats is a safety hazard requiring immediate action: shut off power or gas, avoid scalding taps, and diagnose the root cause before resetting the high-limit switch.
| Point | Details |
|---|---|
| Set thermostat to 120°F | A safe water heater setting is generally recommended at 120°F, as higher water temperatures increase burn risk. |
| Never reset high-limit repeatedly | One reset is diagnostic; a second trip means a stuck thermostat, shorted element, or sediment is still active. |
| Flush the tank annually | Draining 3–5 gallons reveals sediment and is the lowest-risk first diagnostic step before any part replacement. |
| Call a pro for red flags | Gas odor, continuous T&P discharge, tank leaks, or repeated high-limit trips require a licensed plumber immediately. |
| Usaplumbingseptic is available 24/7 | Our licensed technicians serve Bullhead City and surrounding areas with same-visit diagnostics and written estimates. |
Table of Contents
- How do you know your hot water heater is overheating?
- What causes a hot water heater to overheat?
- Step-by-step diagnosis: electric and gas water heaters
- DIY fixes you can safely attempt at home
- When should you stop DIY and call a licensed plumber?
- Maintenance checklist to prevent overheating
- What a licensed plumber does on a water heater service visit
- A note from John at USA Plumbing and Septic LLC
- Reliable water heater repair and diagnosis in Bullhead City
- Sources
- FAQ
How do you know your hot water heater is overheating?
Overheating does not always announce itself with a dramatic failure. Sometimes it shows up as water that is simply too hot at the tap. Other times, the heater's own safety devices trip first and you lose hot water entirely.
Watch for these warning signs:
- Scalding water at taps even when the dial is set to a moderate level
- Very hot outlet pipe at the top of the tank, too hot to hold your hand on for more than a second
- T&P valve discharging water onto the floor or into a drain pipe
- Red high-limit reset button popped on an electric heater (visible behind the access panel)
- Breaker tripping repeatedly for the circuit feeding the water heater
- Rumbling, popping, or boiling sounds coming from inside the tank
- Sudden loss of hot water right after a period of very hot water (the high-limit cut power)
One detail worth knowing: not every hot-water complaint points to an internal heater fault. Peak demand, slow recovery, and colder incoming water can make temperature feel inconsistent throughout the day. If the problem happens only at one fixture, a failed mixing valve or a cross-connection at that fixture is more likely than a whole-tank fault.
Pro Tip: Run the hot tap for 60 seconds and hold an instant-read thermometer under the stream. A reading above 125°F confirms overheating. Anything above 130°F is a scald hazard requiring immediate action.
What causes a hot water heater to overheat?
A miscalibrated or stuck thermostat, a shorted heating element, sediment causing localized superheating, and cross-connections are the most likely causes when water comes out dangerously hot. Here is how each one works and which heater type it affects most.
- Mis-set or stuck thermostat (electric and gas): The most common cause. The dial is set too high, or the thermostat contacts have welded shut and the element or burner never stops heating. On electric units, each element has its own thermostat — either one can fail independently.
- Shorted heating element (electric only): A failed element can short to ground and heat continuously, bypassing the thermostat entirely. This often trips the high-limit switch.
- Sediment buildup (electric and gas): Mineral deposits collect at the tank bottom and act as insulation between the burner or lower element and the water. The heater works harder and longer, creating localized superheating and the characteristic rumbling sound. Hard water areas like Bullhead City accelerate this significantly.
- Failed high-limit switch (electric): The high-limit is the last line of defense. When it fails in the closed position, it stops cutting power when temps spike. A tripped high-limit switch is a distinct safety device that cuts power when internal temps exceed a safe threshold and should not be repeatedly reset without diagnosing the underlying cause.
- Faulty T&P valve: A valve that is stuck closed cannot relieve pressure when temps rise, turning a manageable overheating event into a pressure emergency.
- Dip tube failure: A broken dip tube lets cold inlet water mix at the top of the tank, which can confuse temperature readings and cause uneven heating cycles.
- Cross-connection or failed anti-scald valve: A failed mixing valve at a fixture or a plumbing cross-connection can deliver near-tank-temperature water to a tap even when the tank is set correctly.
- Gas control valve or thermocouple problems (gas only): A stuck gas control valve keeps the burner running past the setpoint. A failing thermocouple can cause erratic burner behavior.
The U.S. DOE and plumbing safety guidance recommend a tank setpoint of 120°F. Water above 125–130°F causes scalding burns in under five seconds.
Step-by-step diagnosis: electric and gas water heaters
Work through this sequence in order. Stop at any step that requires licensed electrical or gas work if you are not confident.
Before you touch anything:
- Identify your heater type (electric or gas).
- Sniff for gas. If you detect any odor, stop immediately, leave the house, and call your gas utility.
- Shut off power at the breaker (electric) or turn the gas valve to "pilot" (gas) before opening any access panels.
- Wear heat-resistant gloves. The tank and pipes may be extremely hot.
Electric heater diagnostic sequence:
- Check the thermostat setting. Remove the upper access panel and look at the dial. If it reads above 120°F, lower it and restore power for 30 minutes, then retest tap temperature.
- Inspect the high-limit reset button. If the red button has popped, press it once. If it trips again within a short heating cycle, the underlying cause — a stuck thermostat or shorted element — must be fixed first. Do not reset it repeatedly.
- Test thermostats and elements with a multimeter. With power OFF and confirmed by a non-contact voltage tester, check each thermostat for continuity. A thermostat that reads continuous continuity regardless of temperature has welded contacts and needs replacement. Test each element for resistance; a reading of zero ohms indicates a short.
- Check for a ground fault. If your multimeter shows continuity between an element terminal and the tank body, the element has shorted to ground. Replace it before restoring power.
Gas heater diagnostic sequence:
- Check the gas control dial. Is it set above 120°F (or the "hot" mark)? Lower it and wait 30 minutes.
- Inspect the pilot and burner. A pilot that stays lit but a burner that runs continuously points to a stuck gas control valve or a thermostat probe that has lost calibration.
- Thermocouple check. A failing thermocouple causes erratic pilot behavior. Replacement is a straightforward job for a confident DIYer, but gas control valve replacement requires a licensed technician.
T&P valve test:
Place a bucket under the discharge pipe. Lift the test lever briefly and release it. Water should flow and then stop cleanly. If it continues dripping, the valve seat is fouled or the valve has failed. If nothing comes out at all, the valve may be seized — a serious pressure hazard.
Sediment check:
Connect a garden hose to the drain valve at the tank bottom and run a few gallons into a bucket. Grit, rust, or cloudy water confirms sediment buildup. Flushing a few gallons is a low-risk diagnostic step that often reveals sediment problems and should be done before invasive element or thermostat work. Rumbling or popping during heating is almost always sediment.
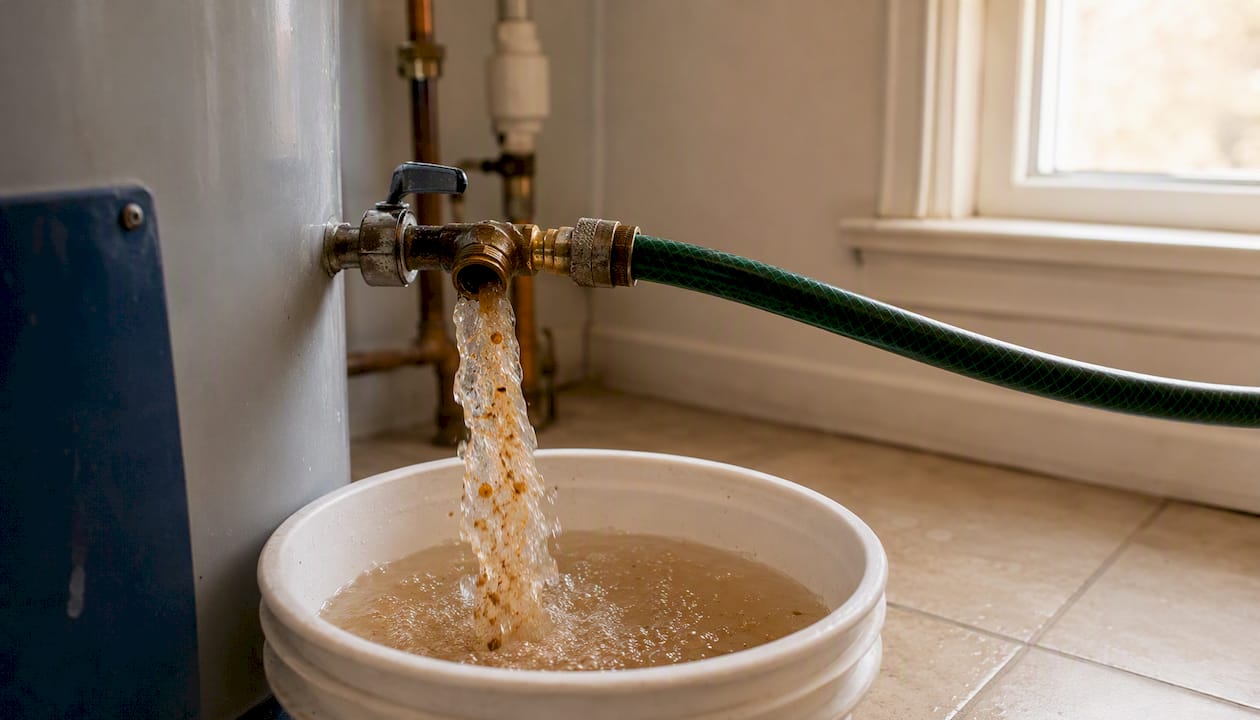
Tools you need: non-contact voltage tester, digital multimeter, heat-resistant gloves, garden hose, bucket, flathead and Phillips screwdrivers, instant-read thermometer.
Pro Tip: Always confirm power is OFF with a non-contact voltage tester before touching any wiring inside the access panel — the thermostat label alone is not proof the circuit is dead.
DIY fixes you can safely attempt at home
Common homeowner fixes include lowering the thermostat to 120°F, flushing sediment, testing and replacing T&P valves, and cleaning or replacing thermostat probes. Here is what you can reasonably do yourself and where the line is.
Adjust the thermostat to 120°F
Turn the dial to 120°F (or the "warm/normal" mark on gas units). Restore power or relight the pilot. Wait one full heating cycle — typically 30–60 minutes — then retest tap temperature with a thermometer.
Reset the high-limit switch (once)
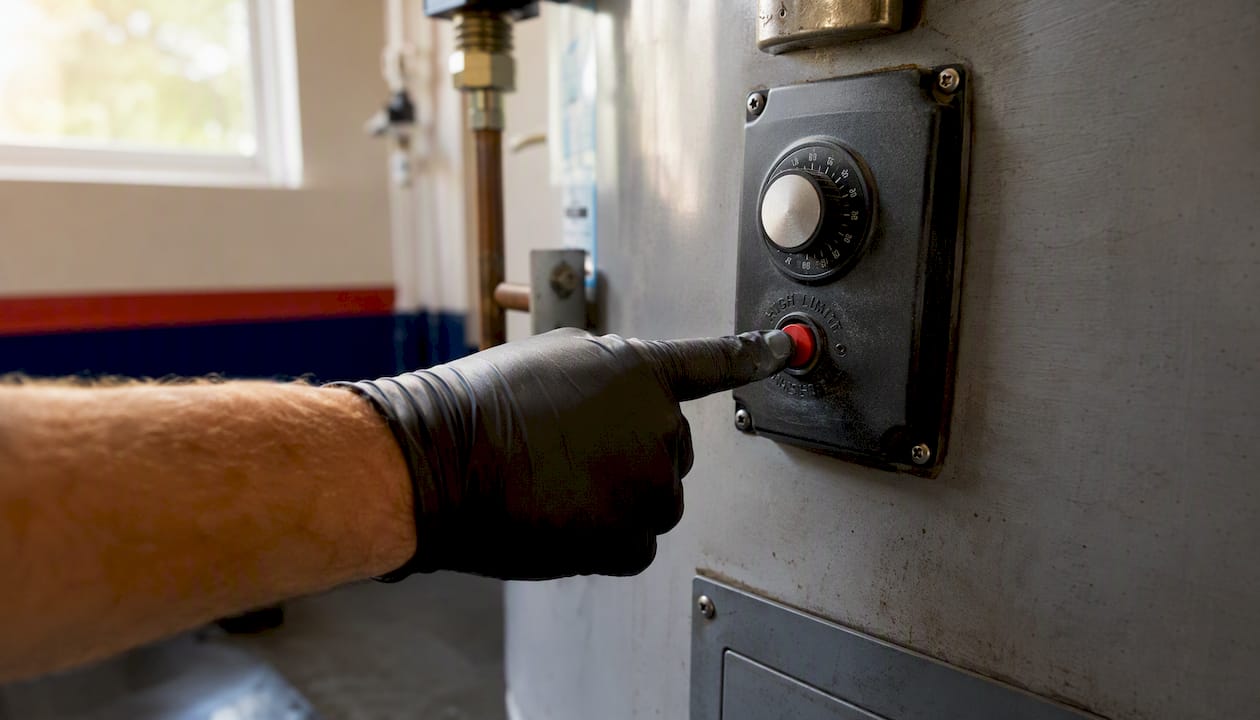
Press the red button firmly until you hear a click. If the heater runs normally and hot water returns at a safe temperature, monitor it for 24 hours. A second trip means the root cause is still active — stop resetting and diagnose the thermostat or element.
Flush the tank
Turn off the cold water supply valve. Connect a hose to the drain valve. Open a hot tap in the house to break the vacuum. Open the drain valve and let 3–5 gallons run into a bucket. Sediment-heavy water confirms the problem. A full flush (draining the tank completely) removes more buildup but takes longer. For detailed steps, our guide on common water heater problems covers the full procedure.
Test and replace a T&P valve
If the valve drips continuously after testing, replacement is a straightforward DIY job. Turn off power/gas and cold water supply, drain a few gallons to drop the water level below the valve, unscrew the old valve, wrap the threads with PTFE tape, and thread in the new valve. Match the BTU/pressure rating on the old valve exactly.
Replace a thermostat or heating element (electric, confident DIYers only)
With power confirmed OFF at the breaker and verified with a voltage tester, drain the tank partially, disconnect element wires, and unscrew the element with an element wrench. Install the new element, reconnect wires, refill the tank completely before restoring power. A dry-fired element fails immediately.
What NOT to do:
- Do not press the high-limit reset button more than once without diagnosing the cause.
- Do not disassemble or adjust the gas control valve assembly — this is licensed-technician work.
- Do not ignore a continuously discharging T&P valve. It is telling you pressure or temperature inside the tank is already beyond the safe limit.
- Do not restore power to an electric heater with an empty or partially filled tank.
A diagnostic sequence that starts with demand checks, thermostat testing, and a sediment flush resolves many overheating complaints before any parts need ordering.
When should you stop DIY and call a licensed plumber?
Some water heater safety problems go beyond what a homeowner should handle. Call a licensed plumber immediately if you encounter any of these:
- Gas odor at any point during diagnosis
- High-limit switch trips more than once in a short period after resetting
- Continuous T&P valve discharge that does not stop after you lower the thermostat
- Visible tank leak, bulge, or rust weeping from the tank body
- Element ground fault confirmed by multimeter (shock risk)
- Heavy rumbling or evidence of internal corrosion in a tank older than 10–12 years
- Repeated breaker trips on the water heater circuit
For guidance on what a professional service visit covers, our article on whether plumbers work on water heaters explains the full scope.
Typical U.S. repair and replacement cost ranges:
Emergency service calls typically add $100–$200 to any repair. When you call, have the heater's model number, serial number (which usually encodes the manufacture year), and a clear description of symptoms ready. That information lets a technician arrive with the right parts and cuts service time significantly.
Pro Tip: A water heater's serial number often contains the manufacture year in the first two digits or first letter. If your unit is 12 or more years old and showing repeated faults, replacement is usually more cost-effective than repeated repairs.
Maintenance checklist to prevent overheating
Consistent maintenance is the most reliable way to keep your water heater running safely and extend its service life. Follow this annual schedule:
- Set thermostat to 120°F (check it every spring — dial settings can drift or be accidentally changed).
- Flush the tank annually. In hard-water areas like Bullhead City and the Tri-State region, consider flushing every six months. Sediment buildup is the leading cause of premature heater failure and overheating. Our water softening and filtration service can reduce mineral accumulation significantly.
- Test the T&P valve every year. Lift the lever briefly, confirm water flows and stops. Replace the valve if it drips or fails to open.
- Inspect the anode rod every 2–3 years. A depleted anode rod allows tank corrosion. Replacement costs $20–$50 in parts and takes about 30 minutes.
- Check for plumbing cross-connections annually. Turn off the cold supply to the heater and open a hot tap. If water still flows, a cross-connection exists somewhere in the system.
- Consider a water softener or filtration system if your water is hard. Reduced mineral content means less sediment, less strain on heating elements, and a longer tank life. See our tips on DIY home plumbing maintenance for more on this.
- Keep a service record. Note the date of every flush, anode rod check, and T&P test. This documentation speeds up any future service call and supports warranty or insurance claims.
Pro Tip: Take a photo of your heater's data plate (model, serial, BTU rating) and save it in your phone. You will have it instantly when a technician asks — no crawling behind the unit in an emergency.
What a licensed plumber does on a water heater service visit
A licensed plumber's diagnostic process is methodical and covers every component a homeowner cannot safely test without professional tools. Here is what to expect when a technician arrives for a water heater overheating call.
On arrival:
- Safety isolation first: power or gas is shut off and confirmed before any panel is opened.
- Visual inspection of the tank exterior for leaks, corrosion, bulging, or T&P discharge evidence.
- Pressure and temperature check using calibrated gauges at the T&P valve port.
- Multimeter testing of both thermostats and both heating elements on electric units, checking for welded contacts, failed elements, and ground faults.
- Burner inspection on gas units: pilot condition, thermocouple output voltage, gas control valve operation, and combustion chamber condition.
- Sediment assessment by draining a measured volume and inspecting the output.
- Mixing valve and cross-connection check at fixtures if single-fixture overheating is reported.
Homeowners should expect a written estimate before any work begins. Licensed contractors carry liability insurance and should provide a warranty on both parts and labor — typically 90 days to one year depending on the repair. Permit requirements vary by municipality; a thermostat swap rarely requires one, but a full tank replacement often does.
When you call a licensed plumber for an overheating water heater, you are not just paying for a part swap. You are paying for a complete safety assessment — pressure testing, element checks, and a sediment evaluation — that confirms the root cause rather than just silencing the symptom. Resetting the high-limit button without that assessment is the single most common reason the same heater fails again within weeks.
Usaplumbingseptic serves Bullhead City, Fort Mohave, Mohave Valley, and Laughlin with 24/7 emergency availability. Our technicians document the model, age, and fault history on every call so repeat visits are faster and better informed.
A note from John at USA Plumbing and Septic LLC
Water heater overheating is one of those problems that looks simple on the surface — turn down the dial, press the reset button, done. But in our experience serving the Bullhead City area, the reset button is almost never the fix. It is a signal. The real cause is usually a stuck thermostat, a failing element, or years of sediment doing quiet damage at the bottom of the tank. We are a safety-first team, and we would rather you call us for a 20-minute assessment than reset that button three times and end up with a pressure event. When in doubt, shut it off and give us a call.
Reliable water heater repair and diagnosis in Bullhead City
When a thermostat adjustment or a single flush does not resolve the problem, you need a licensed technician on-site fast. Usaplumbingseptic provides 24/7 emergency water heater diagnostics for homeowners across Bullhead City, Fort Mohave, Mohave Valley, and Laughlin. Our licensed plumbers carry the tools to test thermostats, elements, gas controls, and T&P valves on the first visit, and we provide written estimates before any repair begins. Parts and labor warranty options are available on every job.

No guessing, no repeated reset attempts, and no surprise charges. Whether your tank needs a thermostat swap, a full flush, or a complete replacement, we handle it efficiently and get your hot water back to a safe, reliable temperature. Schedule a service call or reach us any time, day or night, for emergency water heater repair in the Bullhead City area.
Sources
The following sources informed the diagnostic recommendations, temperature guidance, and safety protocols in this article. Use them to verify specific claims about thermostat failures, high-limit behavior, sediment effects, T&P testing, and the 120°F DOE guidance.
- Water Heater Water Too Hot? 4 Fixes Ranked by Likelihood 2026 | Spanr Guides
- Why Your Water Heater Shuts Off From High Temperature | HeaterGuides
- Hot water temperature improvement and safety guidance | InspectApedia
- Why hot water feels inconsistent throughout the day | Rheem
- Why is my water heater temperature fluctuating? Causes & fixes - Plumbing Guider
- Water heater too hot? Causes and fixes | HeaterAdvisor
FAQ
Why is my hot water suddenly scalding at the tap?
A sudden spike to scalding temperatures usually points to a stuck thermostat with welded contacts or a shorted heating element that is heating continuously without shutting off. Check the thermostat setting first — if it is already at 120°F or below, the thermostat itself has likely failed and needs replacement.
Is 135°F too hot for a water heater?
Yes. Safety guidance recommends 120°F as the standard setpoint, and water above 130°F causes scalding burns in under five seconds. If you need a hotter tank setpoint for a specific reason, an anti-scald mixing valve at fixtures is strongly recommended.
What are the first signs a water heater is going bad?
Rumbling or popping sounds during heating, rust-colored water, a T&P valve that drips, and a high-limit reset button that trips repeatedly are the clearest early warning signs. A tank older than 10–12 years showing any of these symptoms is a strong candidate for replacement rather than repair.
How long does a residential water heater typically last?
Most conventional tank water heaters last a decade or so with regular maintenance, including annual flushing and anode rod replacement every few years. Hard water areas like Bullhead City can shorten that lifespan without a water softener or filtration system in place.
Can I reset the high-limit button myself?
You can press it once to restore hot water while you investigate the cause. If it trips a second time, stop resetting it. A tripped high-limit switch indicates the water inside reached an unsafe temperature, and repeated resets without fixing the root cause can mask a dangerous fault. Call a licensed plumber at that point.