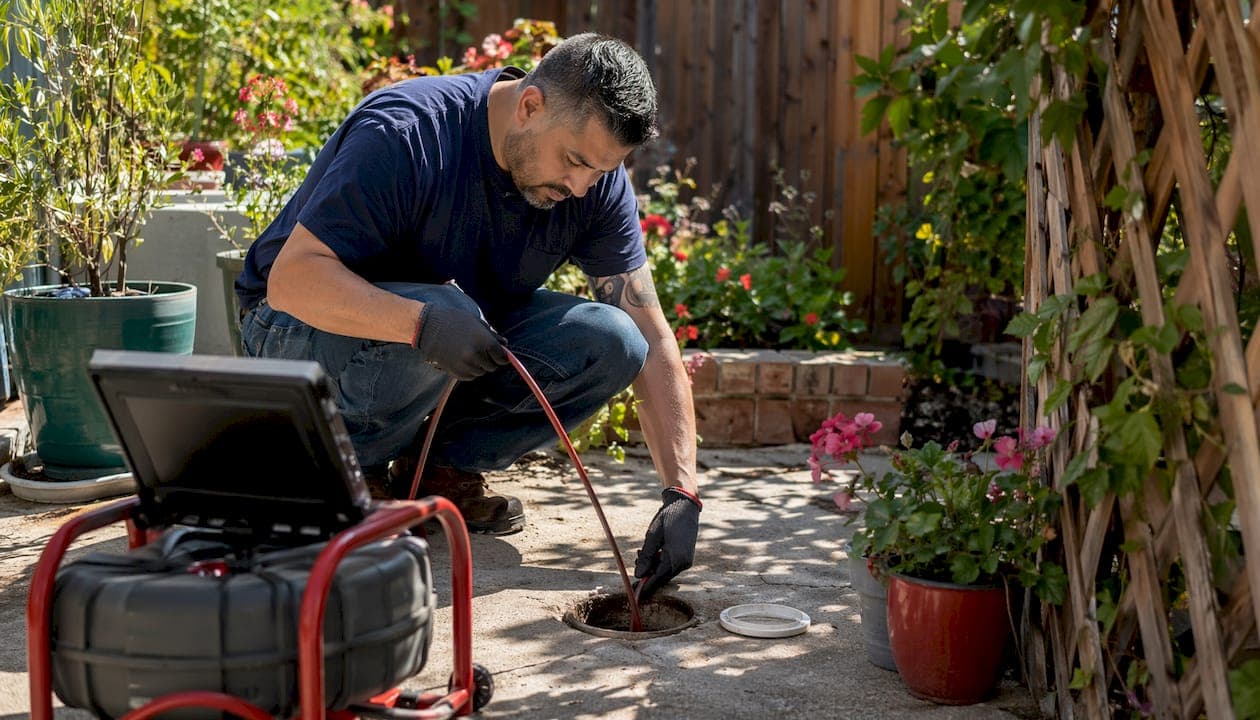
A sewer camera inspection is the process of inserting a waterproof, high-definition camera into sewer pipes to directly visualize their interior and identify problems without digging. Professionals call this technique CCTV pipe inspection, though "sewer camera inspection" is the term most homeowners recognize. The camera travels through your pipes on a flexible cable, sending live video to a monitor above ground. A standard residential inspection takes between 30 and 90 minutes depending on pipe length and complexity. The entire sewer inspection process is non-destructive, meaning your yard and flooring stay intact.
How sewer camera inspections work: the equipment explained
The camera head is the core of the system. Professional inspection systems use waterproof HD cameras with bright LED lights built directly into the camera housing. Those LEDs illuminate the pipe interior so the technician sees every surface clearly, even in complete darkness underground.
The camera mounts to the end of a flexible push cable, sometimes called a rod. That cable is stiff enough to push forward through the pipe but flexible enough to navigate bends and joints without getting stuck. Cables come in different diameters to match different pipe sizes, from narrow 3-inch residential lines to larger commercial mains.
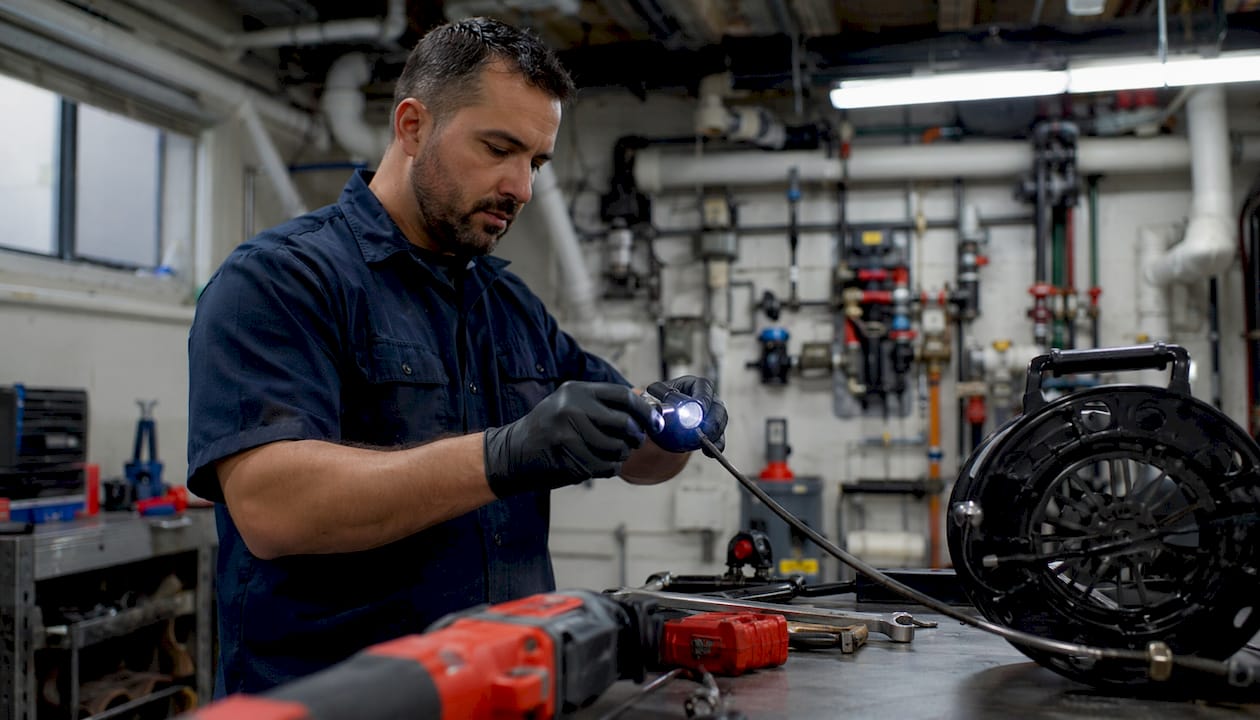
A key piece of technology inside the camera is the sonde transmitter. The sonde is a radio transmitter that broadcasts a signal from inside the pipe to a handheld receiver above ground. This lets the technician pinpoint the exact underground location and depth of any problem found during the inspection. Without the sonde, you would know there is a crack somewhere in the line but not exactly where to dig.
Self-leveling cameras keep the video image upright regardless of how the camera rotates inside the pipe. This matters most when the camera rounds a bend, because a tilted image makes it hard to judge whether a defect is on the top, bottom, or side of the pipe. The monitor above ground displays the live feed and records both video and still images for the final report.
- Waterproof HD camera head: captures clear video inside wet, debris-filled pipes
- LED ring lighting: illuminates the full pipe interior without shadows
- Flexible push cable: navigates bends and joints without damaging the pipe
- Sonde transmitter: broadcasts location and depth data to a surface receiver
- Self-leveling mechanism: keeps video orientation correct through turns
- Monitor and recorder: displays live footage and saves video and photos for documentation
Pro Tip: Before inserting the camera, a good technician runs a bench test to confirm the LED lighting works and resets the distance counter to zero. That counter tracks exactly how far the camera has traveled, so defect locations in the final report are accurate to the foot.
What to expect from a sewer camera inspection: step by step
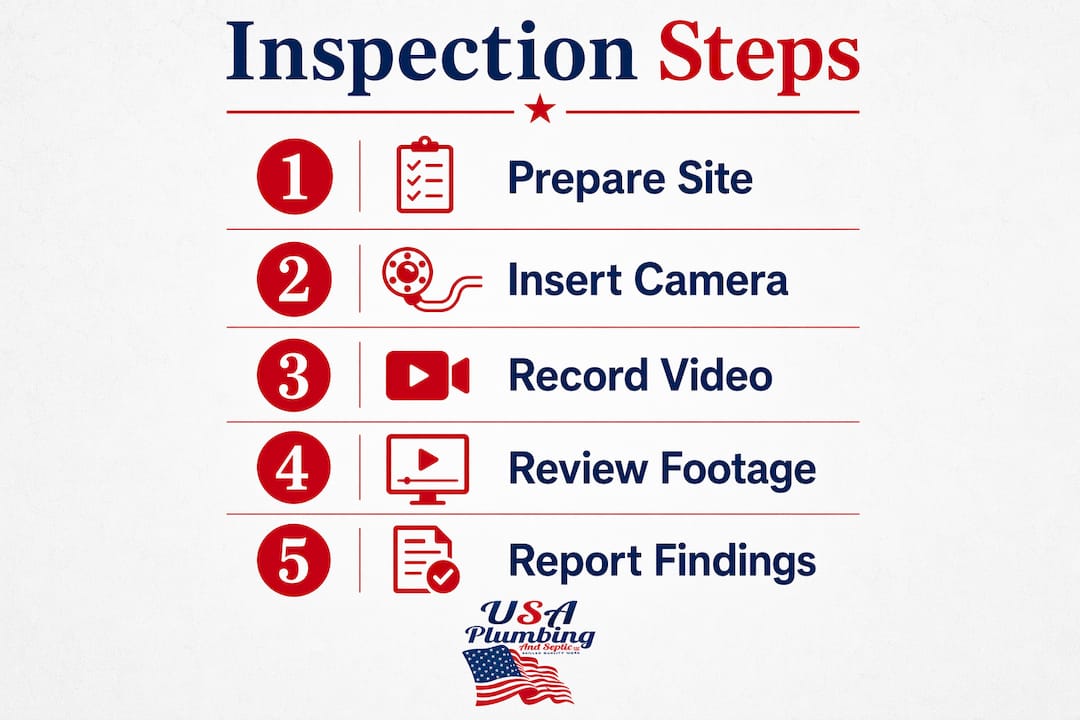
The sewer video inspection process follows a consistent sequence. Knowing each step helps you prepare your property and understand what the technician is doing.
-
Locate the access point. The technician finds the sewer cleanout, which is a capped pipe fitting that gives direct access to the sewer line. If no cleanout is accessible, the technician may remove a toilet temporarily to use the drain opening instead. Learn more about cleanout access points and why they matter for your plumbing system.
-
Prepare the line. The technician runs water through the pipe before inserting the camera. Water lubricates the line and helps the camera head glide forward more smoothly, reducing friction on the cable.
-
Insert the camera. The camera head enters the pipe and the technician feeds the cable forward steadily. The live feed appears on the monitor immediately, showing the pipe interior in real time.
-
Advance slowly and observe. The technician moves the camera at a slow, steady pace. Slow, consistent movement prevents blurry images and avoids forcing the rod, which risks cable breakage. When the camera meets resistance at a bend, the technician gently retracts and rotates rather than pushing harder.
-
Identify and mark defects. When the camera reaches a problem area, the technician pauses to record the footage and note the distance reading on the counter. The sonde receiver above ground marks the surface location directly above the defect.
-
Document and review findings. After the camera is retrieved, the technician reviews the recorded video and photos with you. A written report lists each defect, its distance from the access point, and the recommended repair.
Pro Tip: Clear the area around the cleanout before the technician arrives. A few feet of open space makes setup faster and gives the technician room to lay out the cable without kinking it.
What problems do sewer cameras find?
Sewer cameras reveal a wide range of pipe conditions that no surface inspection can detect. Common issues include tree root intrusion, grease buildup, cracks, sagging sections called bellies, separated joints, corrosion, and full blockages. Each problem type has a different cause and a different repair path.
Tree root intrusion is one of the most frequent findings in older neighborhoods. Roots follow moisture and enter pipes through small cracks or loose joints. Once inside, they grow into dense masses that catch debris and eventually block the line completely. Catching roots early means a simple hydro-jetting treatment. Ignoring them leads to a collapsed pipe and full replacement.
Grease, scale, and mineral buildup narrow the pipe's interior diameter over time. In areas with hard water, like much of the Bullhead City and Mohave Valley region, mineral deposits accumulate faster than in soft-water areas. A camera inspection shows exactly how thick the buildup is and whether drain cleaning alone will restore flow or whether descaling is needed.
The table below shows the most common defect types, their typical causes, and the repair approach each one requires.
| Defect type | Typical cause | Common repair |
|---|---|---|
| Tree root intrusion | Roots entering through cracks or joints | Hydro-jetting, root cutting, or pipe lining |
| Grease and scale buildup | Cooking grease, mineral deposits | Hydro-jetting or descaling |
| Cracks and fractures | Ground movement, age, or freeze-thaw cycles | Pipe lining or spot repair |
| Sagging sections (bellies) | Soil settlement beneath the pipe | Excavation and pipe repositioning |
| Separated joints | Ground shift or poor original installation | Joint repair or pipe relining |
| Corrosion | Age, chemical exposure, or acidic soil | Pipe lining or full replacement |
Standardizing how these defects are recorded matters for repair planning. The NASSCO PACP (Pipeline Assessment Certification Program) provides a nationally recognized coding system that technicians use to classify and document each defect type consistently. That standardization makes it easier to compare inspection reports over time and to get accurate repair estimates from contractors.
What are the real benefits and limits of sewer camera inspections?
The clearest benefit is cost savings. Camera inspections prevent costly trial-and-error repairs by providing precise information before any digging or major work begins. A plumber who knows exactly where a root mass sits at 47 feet from the cleanout does not need to excavate the entire yard to find it.
The non-invasive nature of the process protects your landscaping, driveway, and flooring. Access comes through existing cleanout ports or a temporarily removed toilet, so the inspection leaves no physical trace on your property. That matters especially for property managers who need to minimize disruption to tenants.
Early detection is the other major advantage. A camera inspection catches a small crack before it becomes a collapsed section, or a thin root intrusion before it becomes a full blockage. The recorded video and photos also serve as documentation for insurance claims and real estate transactions, giving buyers and sellers an objective record of pipe condition.
The limitations are real and worth knowing:
- External leaks are not visible. The camera shows the inside of the pipe only. If water is escaping through a crack into the surrounding soil, the camera cannot confirm the volume of loss or the soil saturation level. Complementary tests like pressure testing or leak detection methods are needed for that. You can learn more about residential leak detection to understand when additional testing is warranted.
- Pressure and flow data are absent. The camera provides visual data only. It does not measure flow rate or pipe pressure.
- Heavily blocked lines may limit camera travel. A complete blockage can stop the camera before it reaches the full length of the line. Clearing the blockage first gives a more complete picture.
What I've learned from watching sewer cameras do their job
The analogy that sticks with me is that a sewer camera inspection is like a colonoscopy for your home's plumbing. It assesses structural health, not just whether something is blocked. Most homeowners call for an inspection only when something is already wrong. That is understandable, but it misses the real value of the tool.
The inspections that save the most money are the ones done before a problem is obvious. A property manager who schedules a camera inspection every few years on older buildings catches the slow-developing issues: the belly forming under the driveway, the joint that has shifted a quarter inch. Those are $500 repairs if caught early and $5,000 repairs if left until the line backs up.
Patience during the inspection itself is what separates a thorough report from a rushed one. A technician who advances the camera slowly and pauses at every anomaly gives you a report you can actually use. If a technician is in and out in 15 minutes on a 100-foot line, ask questions. The footage should show every foot of that pipe.
My practical advice: schedule an inspection when you buy a property, after any major tree removal near the sewer line, and every 3–5 years on homes older than 25 years. Treat it as routine maintenance, not emergency response.
— JOHN
Sewer inspection services from Usaplumbingseptic
Usaplumbingseptic provides professional sewer camera inspections for homeowners and property managers across Golden Valley, Bullhead City, Fort Mohave, Mohave Valley, and Laughlin. Our team uses HD camera systems with sonde locator technology to deliver accurate, documented reports on your pipe condition.

We are available 24/7 for both scheduled inspections and emergency diagnostics. Whether you need a routine check before a real estate closing or a fast assessment of a recurring backup, our experienced plumbers are ready to help. Contact Usaplumbingseptic in Golden Valley to schedule your inspection, or review our sewer line solutions for Bullhead City homeowners to see the full range of services we offer.
Key Takeaways
A sewer camera inspection is the most reliable non-invasive method for diagnosing pipe defects, and its value comes from precise location data, documented findings, and early detection before costly failures occur.
| Point | Details |
|---|---|
| Non-invasive access | Inspections use cleanouts or toilet removal, so no digging is required. |
| Sonde technology locates defects | A radio transmitter inside the camera pinpoints exact underground location and depth. |
| Common findings include roots and cracks | Tree root intrusion, grease buildup, bellies, and separated joints are the most frequent issues found. |
| Camera has limits | It shows pipe interiors only; external leaks and pressure data require additional testing. |
| Early inspection saves money | Catching small defects before failure avoids major excavation and emergency repair costs. |
FAQ
How long does a sewer camera inspection take?
A standard residential sewer camera inspection takes between 30 and 90 minutes. Longer lines or heavily blocked pipes extend that time.
Does a sewer camera inspection require digging?
No digging is required. Technicians access the sewer line through existing cleanout ports or by temporarily removing a toilet.
Can a sewer camera detect all types of pipe damage?
A camera identifies internal defects like cracks, root intrusion, buildup, and collapsed sections. It cannot directly detect external leaks or measure pipe pressure without additional diagnostic methods.
What happens after the inspection is complete?
The technician reviews the recorded video and photos with you and provides a written report listing each defect, its distance from the access point, and the recommended repair.
How often should homeowners schedule a sewer camera inspection?
Scheduling an inspection at property purchase, after major tree removal near the sewer line, and every 3–5 years on homes older than 25 years is a reliable maintenance practice.