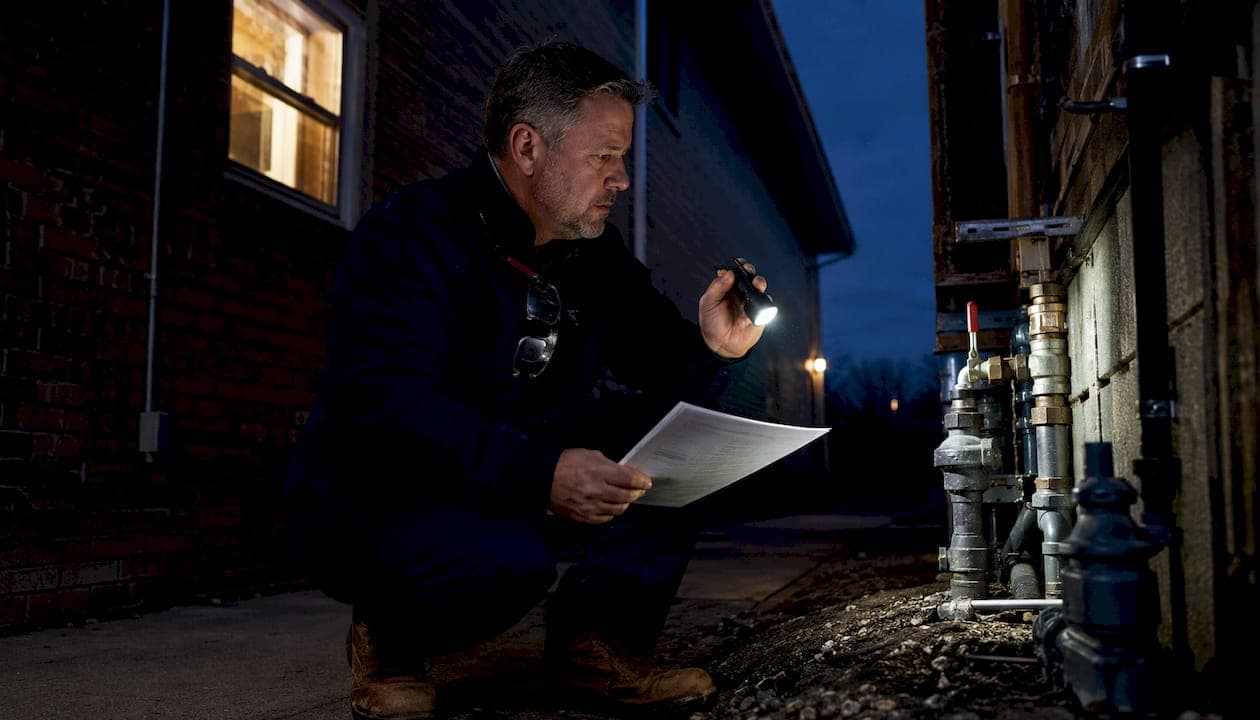
To prevent frozen or burst pipes on cold winter nights, do five things immediately: keep mechanical rooms at or above 50°F, insulate exposed pipe runs, trickle water through vulnerable fixtures, locate and label every shut-off valve, and have an emergency plumber's number posted where all staff can see it. Those five actions stop the majority of freeze events before they become disasters.
Tonight's hard-freeze checklist (execute in order):
- Confirm mechanical room thermostat is set to at least 50°F.
- Open cabinet and closet doors near exterior walls to let warm air reach pipes.
- Set vulnerable faucets to a slow, steady trickle.
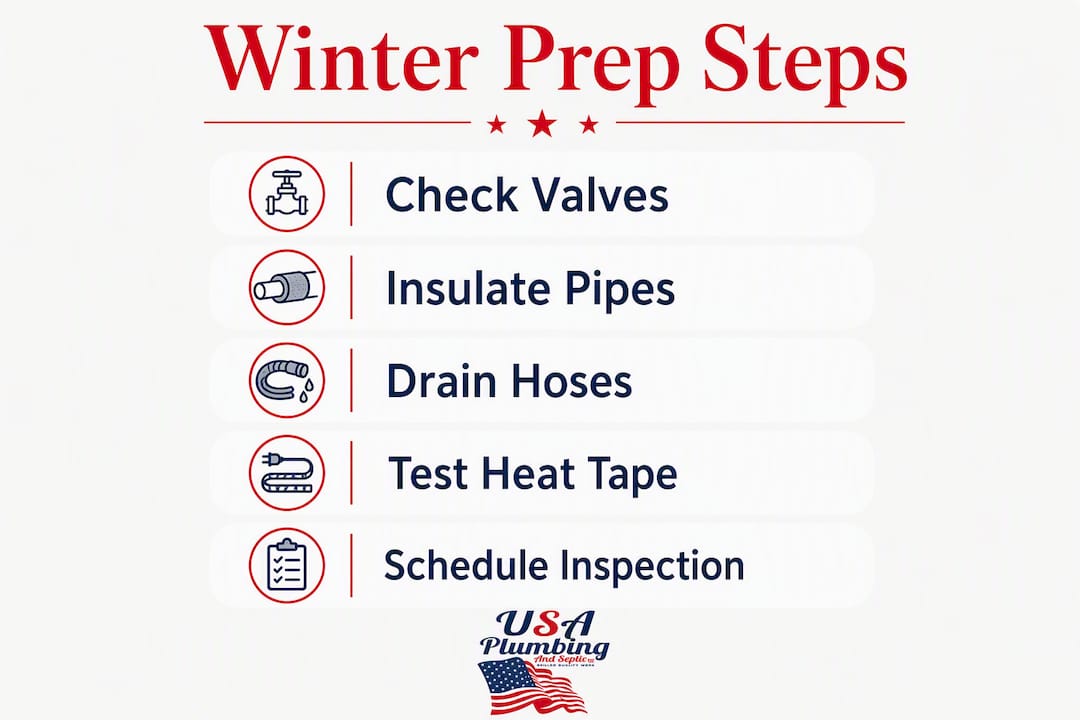
- Turn off and drain all exterior hose bibs and supply lines.
- Verify heat tape circuits are powered and functioning.
- Post the emergency plumber number at the front desk and in the mechanical room.
- Check that all staff on tonight's shift know where the main shut-off is.
- Walk exposed pipe runs in basements, crawl spaces, and exterior utility chases.
- Document anything that looks wrong with a photo and a timestamp.
Usaplumbingseptic is available 24/7 for commercial emergency calls in Bullhead City, Fort Mohave, Mohave Valley, and Laughlin. Keep that number accessible before the temperature drops.
Pro Tip: Set a phone alert for any night the forecast dips below 28°F. That two-degree buffer below the standard 32°F freeze point gives you time to act before pipes are already at risk.
Table of Contents
- What to do the night a hard freeze is forecast
- Pre-season maintenance: what to inspect and when to call a pro
- Protecting key systems: pipes, outdoor fixtures, drains, and water heaters
- How to build a winterization walkthrough your whole team can follow
- If a pipe freezes or bursts: what to do right now
- Why professional winterization pays for itself
- Develop an emergency plan before the first freeze
- Key Takeaways
- The part most managers underestimate about winter plumbing prep
- Usaplumbingseptic is ready to protect your commercial plumbing this winter
- Useful sources
- FAQ
What to do the night a hard freeze is forecast
When a hard freeze warning hits, your window to act is narrow. Work through these steps in order so nothing gets missed under pressure.
- Check mechanical room setpoints. Walk every mechanical room and confirm thermostats read 50°F or higher. If a space heater is the backup, verify it is plugged in, operational, and positioned away from combustibles.
- Open interior doors and cabinets. Warm building air needs a path to pipes along exterior walls. Open utility closets, under-sink cabinets, and access panels in bathrooms and kitchens.
- Trickle vulnerable fixtures. Run a slow, pencil-width stream at faucets on exterior walls or at the end of long supply runs. Moving water resists freezing far better than standing water.
- Shut off and drain exterior supply lines. Turn off the dedicated valve for each outdoor hose bib, then open the bib to drain residual water. Disconnect hoses from all outdoor faucets before temperatures fall.
- Test heat tape and heat tracing circuits. Plug in or switch on every thermostatically controlled heat tape run. Feel the cable after two minutes; it should be warm to the touch.
- Inspect backflow prevention assemblies. These are often mounted on exterior walls or in unheated enclosures. Wrap them with insulating covers rated for outdoor use if they are not already protected.
Safety callouts:
- Never use an open-flame heat source near pipes or insulation.
- Heat tape must be plugged into a GFCI outlet; check the outlet before the season starts.
- If a pipe is already frozen, do not attempt to thaw it with a torch. A hair dryer or heat lamp is the safe choice.
- Portable space heaters in mechanical rooms require clearance from flammables and should never be left unattended overnight.
Pro Tip: Thermostatically controlled heat tape is the right call for exposed runs in unheated chases. It cycles on automatically when temperatures drop and off when they rise, which is safer and more energy-efficient than a constant-on cable.
Pre-season maintenance: what to inspect and when to call a pro
The best time to prepare commercial plumbing for winter nights is well before the first freeze, not the night of. Scheduling a professional inspection 4–8 weeks before your region's first expected freeze gives you time to order materials, book contractors, and fix anything that turns up.
Pre-season inspection checklist:
- Inspect all pipe insulation for gaps, compression, or moisture damage.
- Test every heat tracing circuit and replace failed sections.
- Confirm mechanical room thermostat setpoints and calibrate if needed.
- Verify backflow prevention assemblies are insulated and accessible.
- Exercise every isolation valve by opening and closing it fully; log the date and result.
- Flush floor drains and low-use traps to prevent dry-trap sewer gas issues.
- Check water pressure against standard commercial ranges and note any anomalies.
A seasonal maintenance calendar that assigns specific tasks to fall, winter, spring, and summer keeps your team from scrambling. Build it once, update it annually, and hand it to every new maintenance hire.
On the cost side, a scheduled commercial winterization walkthrough is a fraction of what a single burst pipe costs in repairs, water damage remediation, and business downtime. Reactive repairs after a burst pipe are exponentially more expensive than proactive scheduled maintenance. That gap widens further when you factor in tenant disruption, insurance claims, and lost revenue.
Plumbers tend to have more availability for planned work in early fall. Once hard freezes start, emergency calls spike and scheduling windows shrink fast. Book your inspection early.
Pro Tip: Ask your plumber to pressure-test supply lines during the pre-season walkthrough. A slow pressure drop that is easy to ignore in summer can become a burst fitting the first night temperatures fall below freezing.
Protecting key systems: pipes, outdoor fixtures, drains, and water heaters
Different parts of your plumbing system carry different freeze risks. Target the highest-risk components first.
Pipes: insulation and heat trace
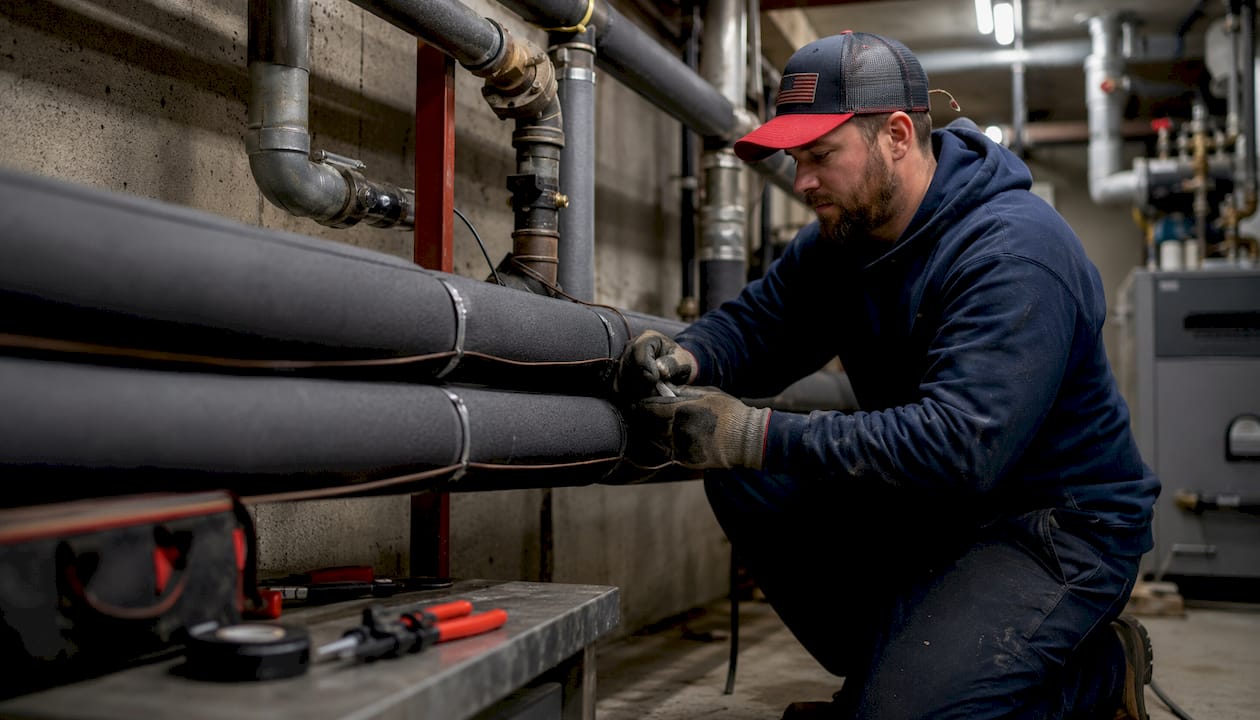
Pipes in basements, crawl spaces, exterior utility chases, and along uninsulated exterior walls are the most vulnerable. Foam pipe insulation sleeves work well for most interior runs; for pipes in drafty or poorly sealed spaces, seal building penetrations and air leaks first before adding insulation. Relying on insulation alone in a leaky chase can actually trap cold air against the pipe. Add thermostatically controlled heat trace cable on any run where air sealing is not practical.
Outdoor fixtures and hose bibs
Drain and disconnect every exterior hose bib before freeze season. Install molded-foam hose bib covers on all outdoor faucets. If your property has a separate outdoor water shut-off valve, close it and open each bib to drain the line completely. Backflow prevention assemblies on irrigation systems need insulated enclosures or removable insulating covers rated for the expected low temperature.
Drains, grease traps, and kitchen systems
Cold temperatures cause grease and food debris to solidify faster in drain lines, which means commercial kitchens see more backups in winter than any other season. Train kitchen staff on what cannot go down the drain, and increase grease interceptor pump-out frequency during cold months. See the commercial drain maintenance guide for interceptor service intervals by kitchen volume.
Water heaters and expansion tanks
Set commercial water heaters to maintain at least 120°F to prevent both freezing in adjacent piping and Legionella growth. Test the temperature and pressure (T&P) relief valve annually; a stuck T&P valve is a safety hazard. Insulate the first several feet of hot and cold supply lines at the heater connection. If your building uses an expansion tank, check the pre-charge pressure each fall.
Maintenance interval reference:
| Subsystem | Monthly | Quarterly | Annual |
|---|---|---|---|
| Pipe insulation condition | Visual check | Repair gaps | Full inspection |
| Heat trace circuits | Verify power | Test thermostat | Replace worn sections |
| Isolation valves | — | Exercise and log | Full valve audit |
| Grease interceptors | Monitor level | Pump-out (high-volume kitchens) | Inspect baffles |
| Water heater T&P valve | — | — | Test and replace if needed |
| Backflow assemblies | — | Visual inspection | Certified test |
How to build a winterization walkthrough your whole team can follow
A one-time inspection is useful. A documented winterization walkthrough that becomes a repeatable roadmap is what actually protects your building year after year, regardless of staff turnover.
What your walkthrough document should include:
- A floor-plan sketch or photo set showing every shut-off valve, zone valve, and isolation valve with its location labeled.
- A list of all heat trace circuits with circuit ID, location, thermostat setpoint, and last test date.
- Photos of every vulnerable pipe run with notes on insulation type and condition.
- A signed inspection log with date, inspector name, and any corrective actions taken.
- Emergency contact list: licensed plumber, property insurance agent, and building owner.
Sample checklist template (copy and adapt):
| Task | Frequency | Responsible | Last Completed |
|---|---|---|---|
| Exercise all isolation valves | Every 6 months | Maintenance lead | __________ |
| Test heat trace circuits | Pre-season / monthly | Maintenance lead | __________ |
| Inspect pipe insulation | Pre-season | Maintenance lead | __________ |
| Pump grease interceptors | Quarterly (high-volume) | Vendor | __________ |
| Test T&P relief valve | Annual | Licensed plumber | __________ |
| Update shut-off valve map | Annual | Facility manager | __________ |
A commercial plumbing maintenance schedule built around this template gives you a paper trail that supports warranty claims, satisfies insurance requirements, and makes onboarding new maintenance staff straightforward.
Pro Tip: Exercise every isolation valve at least every six months. Valves that sit untouched for years seize from mineral buildup and fail exactly when you need them most. Log the date and your initials every time.
If a pipe freezes or bursts: what to do right now
Speed matters. Every minute water runs unchecked after a burst pipe adds to the damage. Work through this sequence without skipping steps.
- Isolate the water. Close the zone valve or main shut-off for the affected area immediately. If you are not sure which valve controls the broken line, close the building main.
- Protect electrical equipment and assets. If water is near electrical panels, outlets, or equipment, cut power to that circuit at the breaker before entering the space.
- Document the damage. Take photos and video before any cleanup begins. Your insurance adjuster will need them.
- Notify your insurer and tenants. Call your property insurance carrier to open a claim. Notify affected tenants in writing as soon as the situation is stable.
- Call a licensed emergency plumber. Get a professional on-site to assess the break, confirm no other lines are compromised, and begin repairs. See how to handle a plumbing emergency for a full staff procedure guide.
Cost drivers for burst-pipe repairs:
- Access difficulty (concrete slab, finished ceiling, or buried line costs more to reach).
- Number of fittings and linear feet of pipe replaced.
- After-hours or emergency labor rates.
- Secondary damage: drywall, flooring, insulation, and mold remediation.
- Permit and inspection fees for structural repairs.
Typical repair timelines range from a few hours for an accessible copper fitting to several days for a slab leak or a run buried under a finished floor. Budget for secondary trades (drywall, flooring) on top of the plumbing bill.
Pro Tip: Post a laminated "Emergency Shut-Off Card" at the front desk and in every mechanical room. Include the valve location, the steps to close it, and the emergency plumber's number. Staff who have never touched a shut-off valve can follow a card; they cannot follow instructions they have never seen.
Why professional winterization pays for itself
The math on preventive service is straightforward. A scheduled commercial winterization walkthrough costs a fraction of a single burst-pipe repair, and that comparison does not include business interruption, tenant claims, or the reputational cost of a flooded building.
Facility managers who schedule brief, routine maintenance visits before winter see far fewer catastrophic failures and lower total cost of ownership over time. Once a pipe has burst or a fixture has frozen, the cost and operational disruption are exponentially higher than what proactive scheduled maintenance would have cost.
Reactive repairs after a burst pipe consistently run multiples of what a pre-season inspection costs. That ratio grows when you add water damage remediation, which can easily exceed the plumbing repair itself.
What to look for in a licensed commercial plumber:
- State plumbing license and current bond.
- Documented commercial experience (not just residential).
- 24/7 emergency availability with a direct dispatch line.
- Familiarity with backflow testing, heat trace installation, and large-format water heater service.
- References from comparable commercial properties.
Regular service also reduces emergency frequency over time. A plumber who knows your system can spot a failing valve or deteriorating insulation on a routine visit, before it becomes a 2 AM call. For guidance on what a service contract should include, see how to select a commercial plumber service contract.
Develop an emergency plan before the first freeze
An emergency plan is not a document you write once and file away. It is a living reference that every person on your team can execute without supervision, at any hour, under pressure.
Shut-off procedure:
- Identify and map every main shut-off, zone valve, and isolation valve in the building. Label each valve with a durable tag showing what it controls.
- Walk every new maintenance hire through the shut-off sequence during onboarding.
- Post laminated shut-off maps in the mechanical room, at the front desk, and in any secondary utility space.
Emergency contact list (post in every mechanical room):
- Licensed emergency plumber (24/7 direct line).
- Property insurance carrier and claim number.
- Building owner or property management company.
- Local water utility emergency dispatch.
- Electrical contractor for water-near-electrical events.
Staff training:
Train all facility staff on three things: where the main shut-off is, how to close it, and who to call first. Run a brief drill at the start of each heating season. Staff who have practiced the shut-off procedure once will execute it correctly under stress; staff who have only read about it often hesitate. Coordinating your plumbing emergency plan with your HVAC winterization procedures also pays off, since winterizing HVAC systems and protecting pipes share several overlapping steps around mechanical room temperatures and equipment shut-downs.
Key Takeaways
Keeping mechanical rooms at or above 50°F, insulating exposed pipes, trickling vulnerable fixtures, mapping every shut-off valve, and having a documented emergency plan are the five actions that prevent most commercial freeze events.
| Point | Details |
|---|---|
| Mechanical room temperature | Hold at or above 50°F every night temperatures are forecast to drop near freezing. |
| Insulation and heat trace | Seal building penetrations first, then insulate; add heat trace on drafty or unheated runs. |
| Valve exercise routine | Open and close every isolation valve at least every six months and log the date. |
| Documented walkthrough | A signed, photo-supported inspection log protects warranties and supports insurance claims. |
| Usaplumbingseptic | Available 24/7 for commercial winterization walkthroughs and emergency repairs in Bullhead City and surrounding areas. |
The part most managers underestimate about winter plumbing prep
Most winterization guides focus on the pipes. The real failure point is almost always the people and the paperwork.
A building can have perfect insulation, functioning heat tape, and properly drained hose bibs, and still flood on a cold night because the one staff member who knew where the zone valve was called in sick. Or because the shut-off map was last updated three years ago and the valve it shows was relocated during a renovation. Or because no one tested the heat trace circuits since they were installed.
The checklist and the documentation are not administrative busywork. They are the mechanism that makes every other preparation reliable. A pipe that is insulated but whose heat tape has a failed thermostat is not protected. A valve that is labeled but has not been exercised in two years may not close when you need it. The physical measures and the documented procedures only work together.
What actually separates buildings that come through hard freezes intact from those that do not is usually not the quality of the insulation. It is whether someone walked the building, tested every circuit, logged every valve, and handed that record to the next person in the chain. That is the work worth doing before the temperature drops.
Usaplumbingseptic is ready to protect your commercial plumbing this winter
When a hard freeze is forecast and your building's plumbing is not ready, the cost of waiting is measured in burst pipes, water damage, and lost business. Usaplumbingseptic provides commercial winterization walkthroughs, heat trace installation, backflow assembly protection, and emergency repairs for commercial properties across Bullhead City, Fort Mohave, Mohave Valley, and Laughlin.

Our team is available 24/7 for emergency calls, and we know commercial systems. We handle everything from pre-season inspections and valve audits to same-night emergency shut-offs and pipe repairs. Whether you need a full commercial plumbing service or a fast response when something goes wrong, we are the reliable local partner you want on call. Schedule your winterization walkthrough now before the first freeze puts you in emergency mode.
Useful sources
- Portland.gov: How to prepare your plumbing for winter weather — Primary municipal guidance on winterizing pipes, outdoor fixtures, and shut-off procedures for commercial and multifamily properties.
- Riddleberger Brothers: 9 Essential Commercial Plumbing Tips for Facility Managers — Source for isolation valve exercise routine and grease/drain management in commercial buildings.
- Advanced Plumbing: Winter Plumbing Survival Guide for Commercial Property Owners — Supports cost-comparison claims between preventive maintenance and reactive burst-pipe repairs.
- Accurate Plumbing and Drain Cleaning: Winterizing Your Commercial Property's Plumbing Systems — Source for mechanical room temperature targets, documented walkthrough requirements, and temporary insulation guidance.
- RJP Plumbing and Heating: Winterizing tips from a Bergen County plumber — Source for building envelope sealing priority before pipe insulation.
- FKRIV Plumbing: Commercial Plumbing Maintenance Tips — Supports seasonal maintenance calendar recommendations.
- Reliable Plumbing LLC: Can You Install New Plumbing in Winter? — Source for scheduling guidance and emergency call volume during freeze events.
- TechAger: Commercial Plumbing Best Practices Every Business Owner Should Know — Supports pressure monitoring and regular inspection recommendations.
FAQ
What temperature should a commercial mechanical room stay above in winter?
Keep mechanical rooms at or above 50°F on any night temperatures are forecast near freezing. That minimum prevents exposed pipes in those spaces from reaching the freeze threshold.
What are the most important steps to prepare commercial plumbing for winter?
Insulate exposed pipes, exercise and label all shut-off valves, test heat trace circuits, drain exterior hose bibs, and schedule a professional inspection 4–8 weeks before your first expected freeze.
Are plumbers busier during winter emergencies?
Planned plumbing work slows in winter, but emergency calls spike sharply during freeze events. Book your pre-season winterization inspection early in fall to secure a service window before demand surges.
Do you leave faucets open after winterizing a commercial building?
Only if the supply line to that fixture has been fully shut off and drained. If water service to the fixture is still active, leave a slow trickle running on vulnerable lines during a hard freeze rather than leaving the faucet fully open.
What is the 135 rule in plumbing?
The recommended water heater strategy: store water at a high temperature to suppress Legionella bacteria, then temper it at the point of use with a mixing valve. This approach balances safety and comfort.