Fix water hammer by diagnosing whether it's a pressure shock or loose piping, then matching the repair to the cause: drain-and-refill for waterlogged air chambers, pipe straps for movement, arrestors at fast-closing valves, or a pressure-reducing valve (PRV) for high supply pressure. Most cases trace back to quick-closing appliance valves or unsecured pipe runs. Call a plumber immediately if pressure reads above 80 psi, you see leaks or corrosion, or the banging continues after basic fixes.
TL;DR:
- Most water hammer cases are caused by quick-closing valves or unsecured pipes, and fixing it involves specific repairs like drain-and-refill or securing supports.
- Conducting tests such as timing and fixture correlation can help distinguish hydraulic shock from pipe movement before attempting repairs.
- Installing properly sized piston-style arrestors near the source of the shock provides a permanent solution, especially for high-pressure systems.
- A pressure above 80 psi, ongoing banging after basic fixes, or leaks and corrosion require professional intervention and can't be resolved through DIY measures alone.
- Regular maintenance, pressure checks, and proactive installation of arrestors when replacing appliances prevent water hammer recurrence over time.
Table of Contents
- How Do You Tell Water Hammer From Other Pipe Noises?
- What DIY Fixes Actually Work This Weekend?
- How Do You Choose and Install a Water Hammer Arrestor?
- When Should You Call a Plumber Instead of DIY?
- How Do You Prevent Water Hammer From Coming Back?
- What Do Plumbers Actually See When They Diagnose Water Hammer?
- What's the Right Order of Operations Here?
- Ready to Book a Water Hammer Diagnosis?
- Sources
- FAQ
How Do You Tell Water Hammer From Other Pipe Noises?
Not every bang in your walls is water hammer, and treating the wrong noise the wrong way wastes a weekend. True water hammer is a hydraulic shock caused by a valve slamming shut fast enough to send a pressure wave crashing through the pipe. Loose pipework, by contrast, produces a rattling or knocking sound as the pipe itself shifts against studs or joists. Plumbers commonly note that these two causes get confused constantly, and fixing one when you actually have the other just burns time.
A few field-tested tests separate the two before you touch a wrench:
- Timing test: True water hammer hits hard and fast, almost always right when a valve closes, like the instant a washing machine or dishwasher solenoid shuts off.
- Fixture correlation: Note which fixture triggers the noise. If it only happens when the ice maker fills or the washer stops mid-cycle, you're looking at a fast-closing valve problem.
- Tap-and-secure test: Push gently on exposed pipe near the noise while someone runs water. If the banging quiets when you hold the pipe still, it's a support issue, not hydraulic shock.
- Flow-change test: Turn a fixture on and off at different speeds. Genuine water hammer spikes on abrupt closure; loose-pipe rattle tends to sound roughly the same regardless of how fast you shut the valve.
- Mapping test: Shut off individual supply lines one at a time (where you have isolation valves) to narrow down which branch of the system is causing the racket.
Pressure matters here too. Grab a $10 hose-bib gauge, thread it onto an outdoor spigot or washing machine bib, and turn the water on fully. A hose-bib pressure check is the cheapest diagnostic move available to a homeowner, and it often rules out an expensive repair before you start one. Normal residential pressure typically sits within a moderate range. Elevated pressures above recommended levels put real strain on your fixtures and dramatically raises your odds of hammer, even with well-supported pipes.
What DIY Fixes Actually Work This Weekend?
Once you know whether you're dealing with pressure shock, movement, or both, the fix usually falls into one of four categories. Here's the order that gets results without wasted effort.
-
Drain and refill your air chambers. Shut off your main water valve, then open your highest fixture (usually an upstairs tub) and your lowest fixture (a basement laundry tub or outdoor spigot) to drain the system fully. Flush every toilet in the house while the system drains. Once water stops running from the lowest point, slowly reopen the main valve and let the system refill gradually. This process takes about 20 to 30 minutes and recharges waterlogged air pockets that used to cushion the shock but have since filled with water. Run the fixture that was banging. If the noise is gone, you've fixed it. If it returns within a few weeks, your air chambers are old style and waterlogging repeatedly, a sign to retrofit piston arrestors instead of repeating this every month.
-
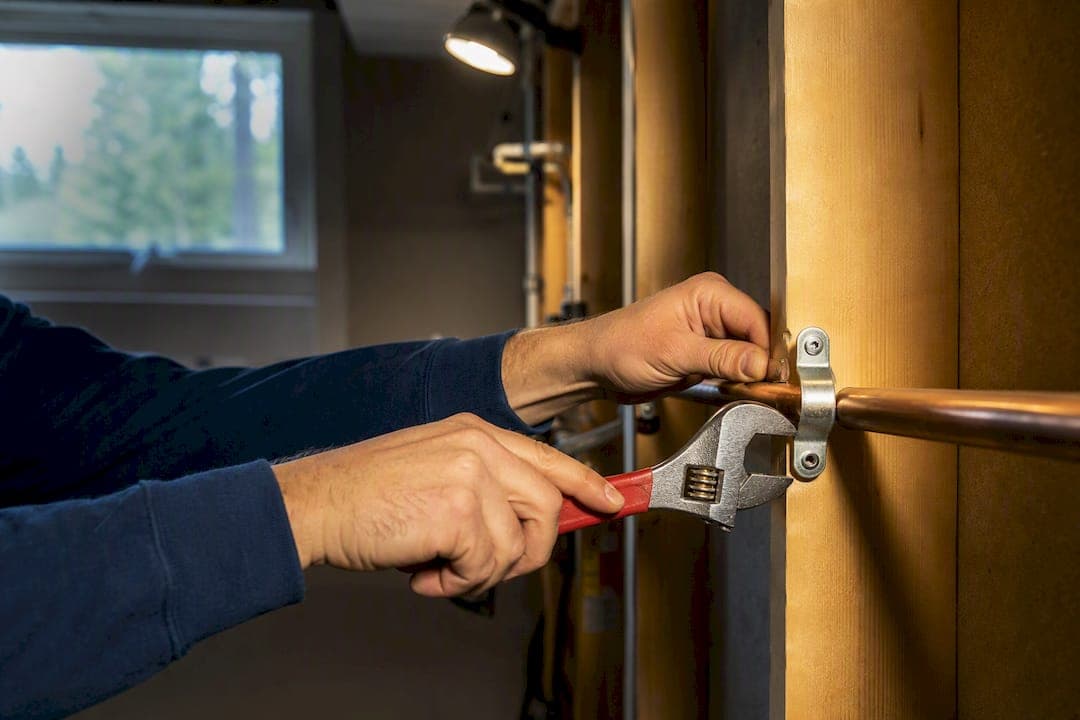
Secure loose or exposed pipes. Walk your basement, crawlspace, or utility areas and look for pipe runs that aren't clamped every four to six feet. Cushioned plastic or vinyl-lined clamps work best because they absorb vibration instead of transmitting it. Never strap copper pipe with galvanized steel; the dissimilar metals cause electrolysis and corrode the pipe from the outside in over time. If you're securing PEX, leave a small amount of slack at each strap since PEX expands and contracts with temperature changes, and cinching it down tight can create new stress points and new noise.
-
Replace worn valve parts. If the banging happens specifically when a toilet finishes filling, the fill valve is often the culprit. A new fill valve costs under $15 and takes about ten minutes to swap.
-
Install a screw-on arrestor at the noisy appliance. Shut off the supply to the washing machine or dishwasher, thread the arrestor onto the shutoff valve or hose connection, hand-tighten, then snug it a quarter turn with a wrench. Run the appliance through a full cycle and check for leaks at every connection you touched.
Pro Tip: Test each fix in isolation before moving to the next one. If you strap pipes and install an arrestor on the same day, you won't know which repair actually solved the problem, and that matters if the noise ever comes back.
Quieting down instead of stopping completely usually means you've reduced but not eliminated the pressure spike. Continued banging after all four steps points toward hidden pipe runs or a systemic pressure problem, both of which belong to the next section.
How Do You Choose and Install a Water Hammer Arrestor?
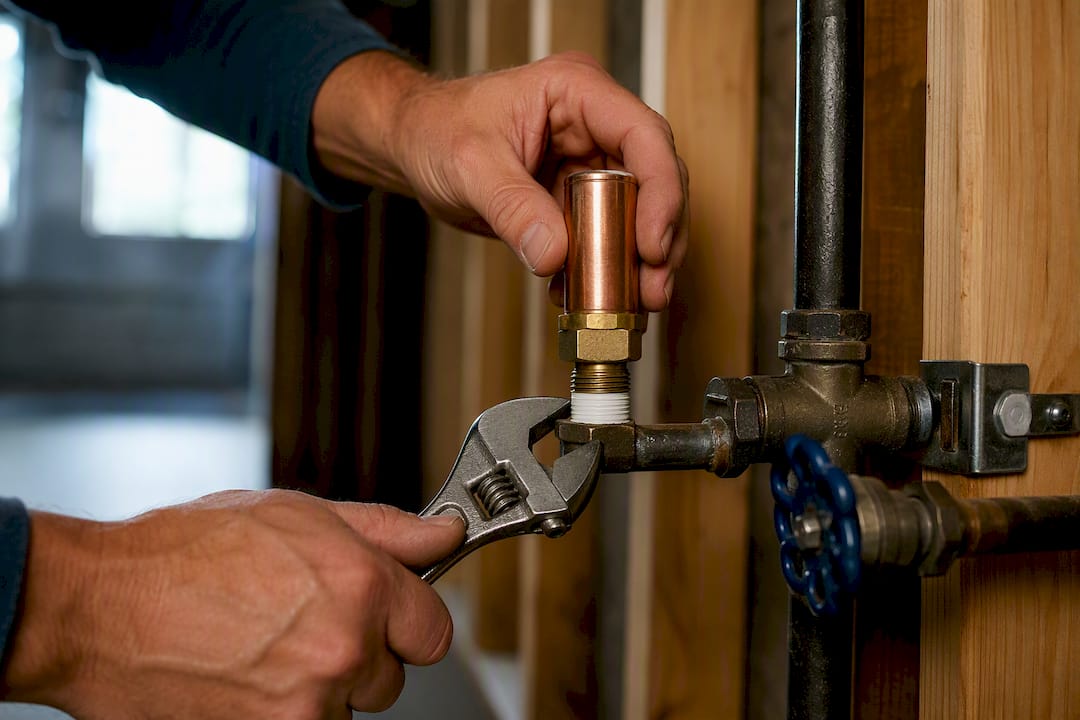
Old-school plumbing relied on air chambers, vertical dead-end pipe stubs that trapped a cushion of air to absorb shock. The problem is that air chambers waterlog over time as the trapped air slowly dissolves into the water, which is exactly why your drain-and-refill fix stops working after a while. Piston-style arrestors solve this permanently with a sealed piston and air chamber that never comes into direct contact with your water supply, so it can't waterlog.
Placement determines whether an arrestor works at all. It needs to sit as close as possible to the fast-closing valve causing the shock, not somewhere convenient down the line. A few rules keep the install clean:
- Install directly upstream of the solenoid valve on washing machines, dishwashers, and ice makers, the most common sources of true water hammer.
- Match the connection type to your setup. Threaded shutoffs take screw-on arrestors; copper, PEX, and CPVC runs need solder, crimp, or push-fit arrestors rated for that material.
- Confirm the arrestor is sized correctly for the fixture's flow rate. Undersized units simply don't absorb enough shock to matter.
- Support the pipe around the arrestor properly. An arrestor bolted to a loose, unsupported line still lets vibration travel through the rest of the run.
DIY installs work fine at accessible threaded shutoffs behind a washing machine or under a sink. Common mistakes include wrong-size units, cross-threaded fittings, and mounting the arrestor too far from the actual valve to be effective. If the noisy valve sits inside a wall or under a slab, sizing and placement get complicated fast, and that's a job better left to a professional than solved with trial and error through drywall.
When Should You Call a Plumber Instead of DIY?
Some situations genuinely call for a professional, and knowing the line saves you money and prevents damage. Here's what pushes water hammer repair out of weekend-project territory.
- Pressure readings that are elevated or unstable. That's a job for a licensed plumber to install or replace a PRV correctly.
- The hammer persists after drain-and-refill, secured pipes, and a properly placed arrestor. At that point you're likely dealing with in-wall runs, a failing check valve, or a systemic pressure issue that needs professional diagnostics.
- You spot leaks, corrosion, bulging fittings, or a previous repair that's failing. Repeated shockwaves fatigue pipe joints and valve seats over time, and a hammer that's been running for months can turn a $200 fix into a $2,000 one.
- The fix requires cutting into walls, accessing a main line, or working inside a slab. That's not a DIY weekend, that's a scheduled service visit.
If any of these apply, our 24-hour plumbing emergency checklist walks through what counts as urgent versus what can wait for a scheduled appointment.
How Do You Prevent Water Hammer From Coming Back?
A one-time fix without follow-up maintenance tends to be a temporary fix. A handful of habits keep the problem from resurfacing.
- Check your pressure twice a year. Keep pressure within an appropriate range, and if readings are consistently elevated, have a PRV installed rather than repeatedly patching symptoms.
- Add arrestors proactively when you replace appliances. New washing machines and dishwashers often close their solenoid valves faster than older models, which can actually increase hammer risk after an upgrade even in a house that never had noise problems before.
- Insulate pipe penetrations and use cushioned straps, not just for noise but for freeze protection too. Foam insulation at wall and floor penetrations damps vibration the same way it slows heat loss in cold snaps.
- Recheck your system anytime you add a fixture or have plumbing work done. New branch lines change flow dynamics throughout the house, and hammer that shows up right after a renovation usually traces back to a support or sizing issue introduced during that work.
Pro Tip: Hard water accelerates valve wear, which means fast-closing solenoids slam harder as mineral buildup stiffens the mechanism. If you're on well water or a hard-water municipal supply, check out our guide to hard water plumbing problems for signs your valves are due for attention before hammer starts.
What Do Plumbers Actually See When They Diagnose Water Hammer?
Misdiagnosis happens more than most homeowners expect, usually because people assume every bang is hydraulic shock and jump straight to buying arrestors. The correct diagnostic order matters:
Pressure test first, then isolate the affected circuit, then check valve wear, then inspect hidden support before touching arrestors or a PRV. Skipping straight to parts replacement without that sequence is the single most common reason a DIY fix doesn't hold.
Hidden pipe movement is the trap most homeowners miss entirely. A pipe run behind drywall can transmit vibration for ten or fifteen feet before it surfaces as noise near a fixture, which means the banging you hear in the kitchen might trace back to a loose strap in the basement. Professionals trace that path methodically instead of guessing at the nearest visible pipe. For a broader look at how your whole system connects, our guide to how residential plumbing systems work covers the layout basics that make this kind of tracing possible.
What's the Right Order of Operations Here?
Test your pressure first. Using a basic pressure gauge is an inexpensive and fast way to rule out or confirm many causes. From there, try the drain-and-refill and secure any exposed pipe you can reach. If the noise persists, move to arrestors at the specific fixture causing it. Call a plumber the moment you see pressure above 80 psi, spot a leak, or find yourself staring at a wall wondering where the pipe actually runs. A DIY fix usually costs under $50 in parts and a free afternoon. A professional visit for a PRV install or hidden pipe repair costs more, but it's the right call once the problem moves past what a wrench and a trip to the hardware store can solve.
— JOHN
Ready to Book a Water Hammer Diagnosis?
If you've worked through the drain-and-refill, checked your pressure, and secured every pipe you can reach and the banging is still there, the problem is probably hiding somewhere you can't easily get to. That's exactly where Usaplumbingseptic earns its keep instead of a string of guesswork repairs. Technicians run a full pressure test, inspect accessible and hidden pipe runs, and size and place arrestors correctly the first time, so you're not paying twice for the same fix.

A typical diagnostic visit includes a pressure check at multiple fixtures, a walkthrough of exposed piping for support issues, and an on-the-spot estimate if a PRV replacement or in-wall repair turns out to be necessary. We serve homeowners throughout the local area and are available for emergency calls if the noise is accompanied by a leak. Ready to get it diagnosed properly? Book a plumbing service visit and get a technician out to trace the problem to its actual source.
Sources
- How to fix water hammer — BobVila
- The Complete Guide to Water Hammer 2026 — Maplewood Plumbing
- Water hammer noise: diagnosis and cure — Inspectapedia
FAQ
Can I Fix Water Hammer Myself?
Yes, in most cases. Drain-and-refill, securing loose pipes, and installing screw-on arrestors at accessible shutoffs all fall within normal DIY skill, provided your pressure tests within the normal 40 to 60 psi range.
Why Did I Suddenly Start Hearing Water Hammer?
A sudden onset usually means a new appliance with a faster-closing solenoid valve, a spike in supply pressure, or an air chamber that finally waterlogged after years of quietly cushioning shock.
Does Water Hammer Need to Be Fixed?
Yes. Left alone, the repeated shockwaves fatigue pipe joints and valve seats over time, which can eventually cause leaks or joint failure even though the noise alone seems harmless.
Is Water Hammer Bad for Your Pipes?
It can be. Occasional mild hammer rarely causes damage, but frequent or forceful hammer stresses solder joints, threaded fittings, and appliance valves, and it's worth a pressure check if you're hearing it regularly.